When I was growing up, our weekends were spent at grandma’s where we would arrive late Friday night after a short train ride journeying against the flow of weary office travellers headed home. By the time we would arrive at grandma’s, I would be asleep often having to be carried up the two flights of curving wooden stairs inside the old stone building. An early riser, I would rest my chin on the smooth bannister of the balcony railing in the morning and watch the smoke rise from a brick chimney in the distance. It would dance in the fog of the cool morning before vanishing forever. Grandma would take my hand while stuffing her coin laden purse down her bosom as we made our way down the stairs to the little higgledy piggledy building with the chimney and those delicious smells.
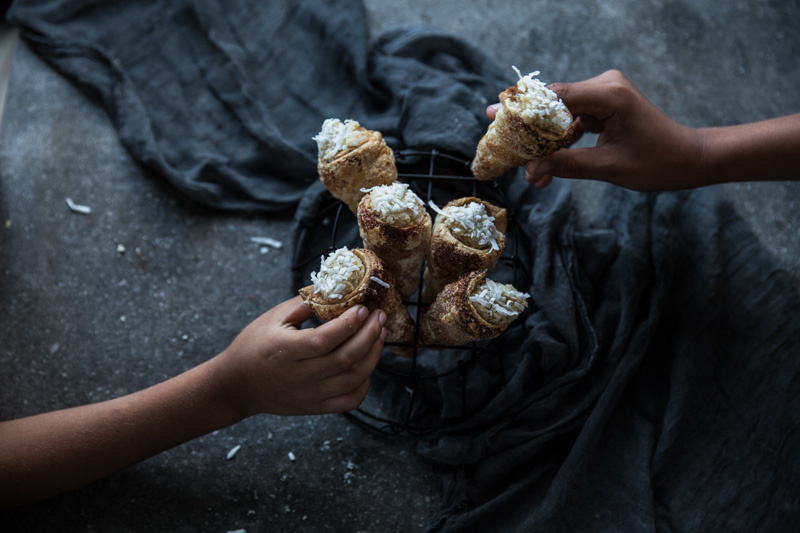
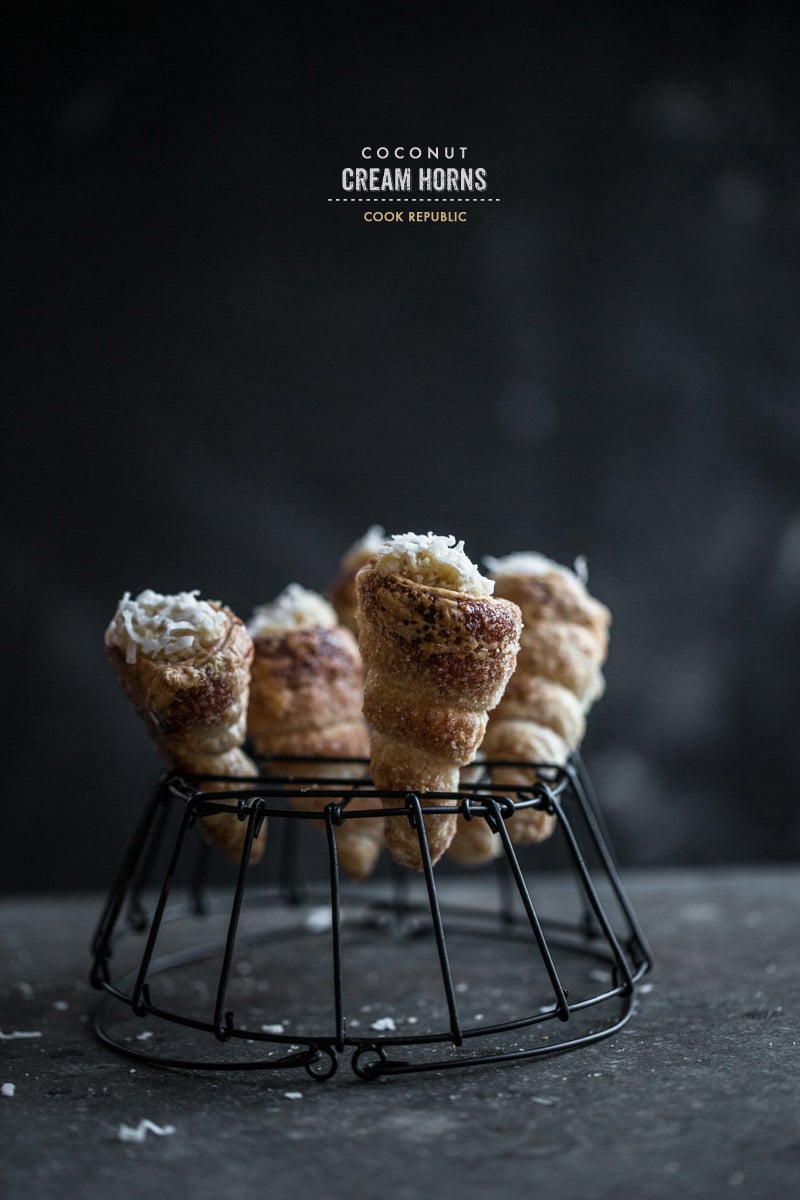
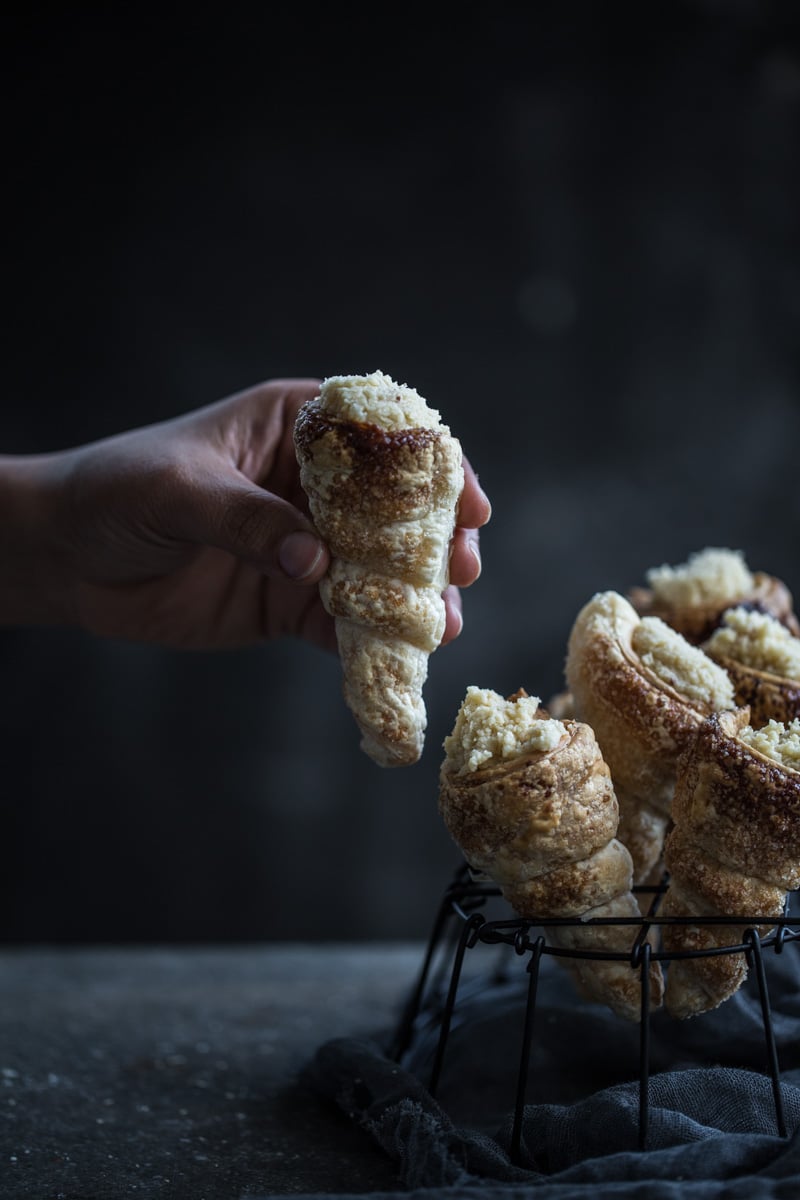
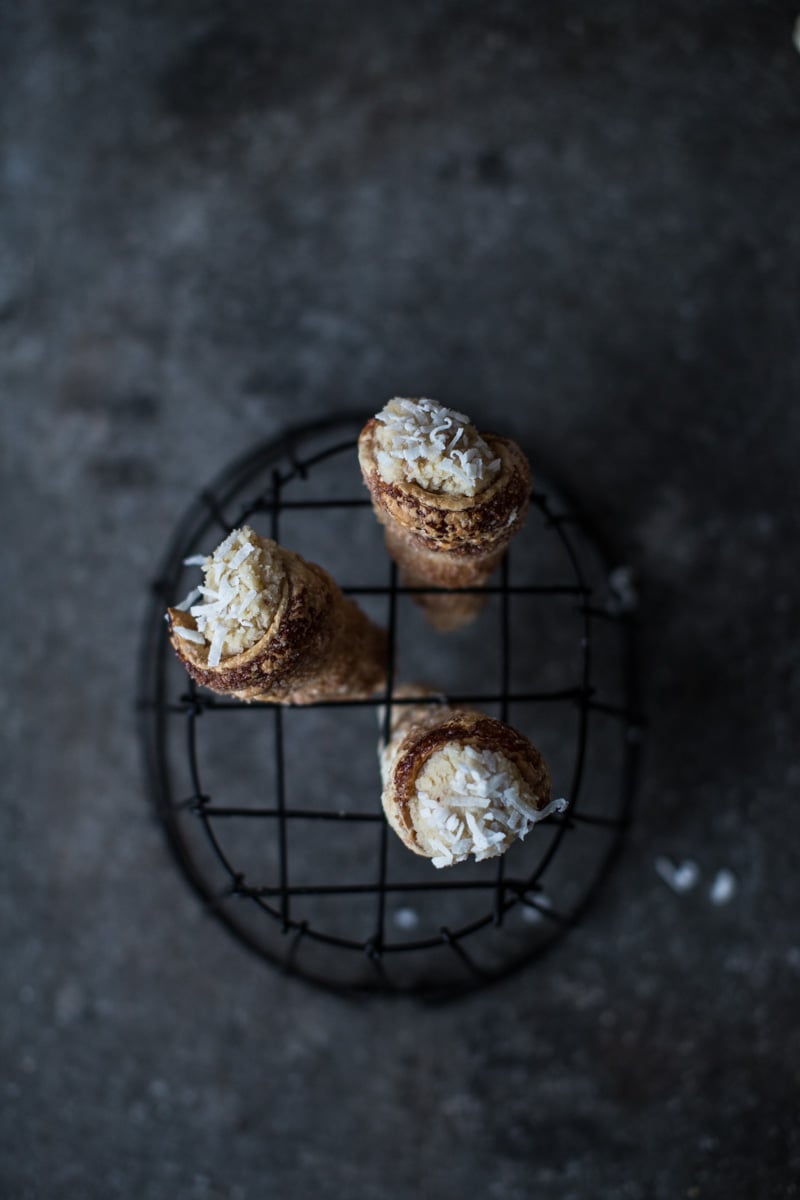
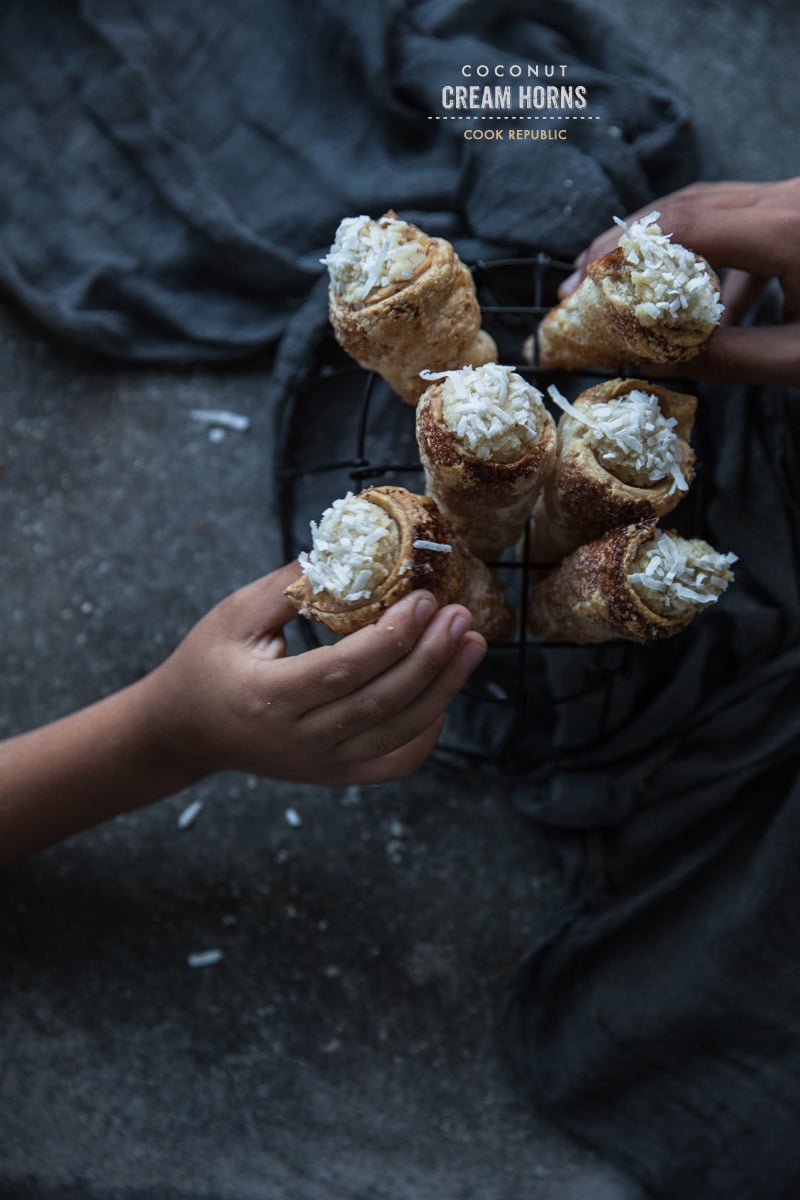
The old British Portuguese bakery had a name that I can’t remember. I do remember the face of the ruddy old man with a big old mustache who would lean over the high counter, his big old belly squashed against the glass and smile at me as I would stand there mesmerized by an unbelievable array of pastries and breads. There were croissants, rolls, buns, pastries, tarts, donuts and breads. And there were cream horns. Little magical puff pastry cones perfectly golden with a baby pink filling of the most divine cream made more interesting with a generous smattering of shredded coconut on top. I’d point my chubby little finger at the cream horns sitting pretty behind the warm glass, the old man would fill up a paper bag with several of them and grandma would jingle the coins on the counter. With the warm paper bag clutched safely against my chest, we would cross the road and climb back up to cups of hot frothy milk, teas and coffees as everyone gave us a hero’s welcome for bringing back the freshest cream horns that little town had to offer.
Time passed and so did grandma. We stopped going. I got older. We got busier. Dad found cream horns in a little bakery tucked away behind my childhood home. They were not the same. I never did find them again. But I thought of them every time I thought of her. Her purse, her hand in mine, the chimney, the high ceiling of the bakery, the rich mahogany counters, the old man’s smile and those cream horns. The sense of smell and taste is very powerful and poignant. It amazes me that I could recall the taste of the cream horns nearly three decades later. Over the years, I tried to recreate them. And after many failed attempts, I now have a recipe that does justice to that memory. These new ones are not the same because those cream horns had the magic of childhood sprinkled on them, but I see the same twinkle in my boy's eyes when they reach for these on a misty Sunday morning and it transports me back to being a child again. My memories live on through their present and in doing so I see new fledgeling memories in the making.
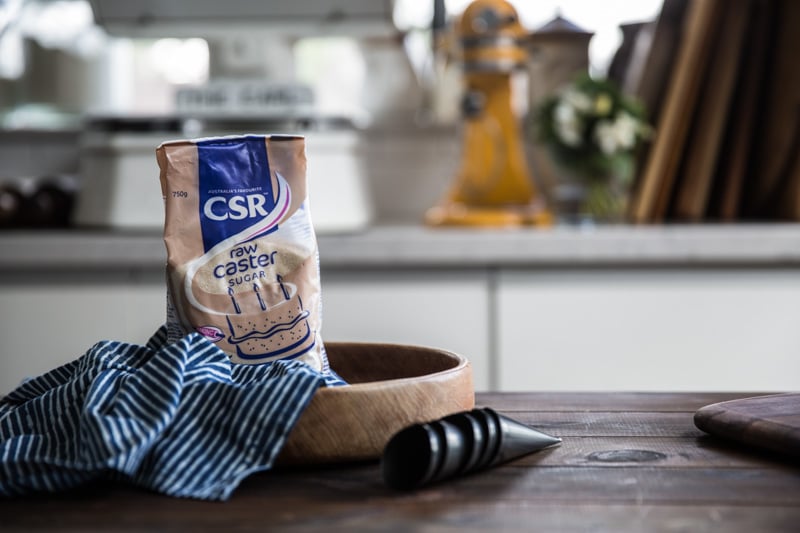
I have been using CSR products for almost a decade. I use raw sugar for a lot of my baking sessions and find the raw caster sugar by CSR a blessing, especially when it comes to making icing. The raw caster sugar is quite fine and renders a beautiful honeyed cream colour when whipped with cream in addition to it having that delicious caramel flavour. I have used raw sugar through out this recipe and the raw caster sugar makes a beautiful fluffy pastry cream that works very well with the crunch of the raw sugar crusted golden pastry. Baking and sweet treats are the lifeblood of a person’s memories. There is not a child or adult whose eyes don’t glaze over when they remember their favourite birthday cake or grandma’s cookie jar or the endless hours they’ve spent in the kitchen licking spoons and making a mess. Join CSR and me this month and celebrate your memories by sharing your special baking recipe and have your story and recipe published in CSR’s Made for Memories cookbook. You could win a chance to be flown to Melbourne to go behind the scenes of the making of the cookbook and win a Magimix Pattisier worth $1199!
How To Enter – Do ANY ONE of the following.
1. LEAVE ME A COMMENT HERE THAT STARTS WITH "CORNUCOPIA" AND share your recipe that includes a CSR product in the ingredients and a short 25 word story as to why that recipe is special to you.
OR
2. INSTAGRAM IMAGE SHARE – Tag me @cookrepublic on Instagram and share a photo of your recipe along with the memory that makes it special and details of the recipe in your caption. Entries here must include #madeformemories and #bakingnation.
OR
3. CSR FACEBOOK PAGE – You can also go directly to the CSR Facebook page and post your entry as a comment with your recipe and 25 words explaining why the memory is so special. You may also upload an image with your comment but it is not mandatory.
Prizes
1. 45 recipes will be chosen from all entries to feature in the Cookbook.
2. All 45 selected recipes will be awarded a $50 Wish Gift Voucher as well as a copy of the cookbook (when it is released)
3. The top 3 recipes chosen will also get to fly to Melbourne to go behind the scenes at the cookbook photo shoot to learn about food photography as well as food styling. They will also receive a Magimix Patissier worth $1,199.
The competition starts now and runs until May 22, 2015. Final Recipes picked and Winners Announced on May 28, 2015!!
Good luck guys!!
[print_this]
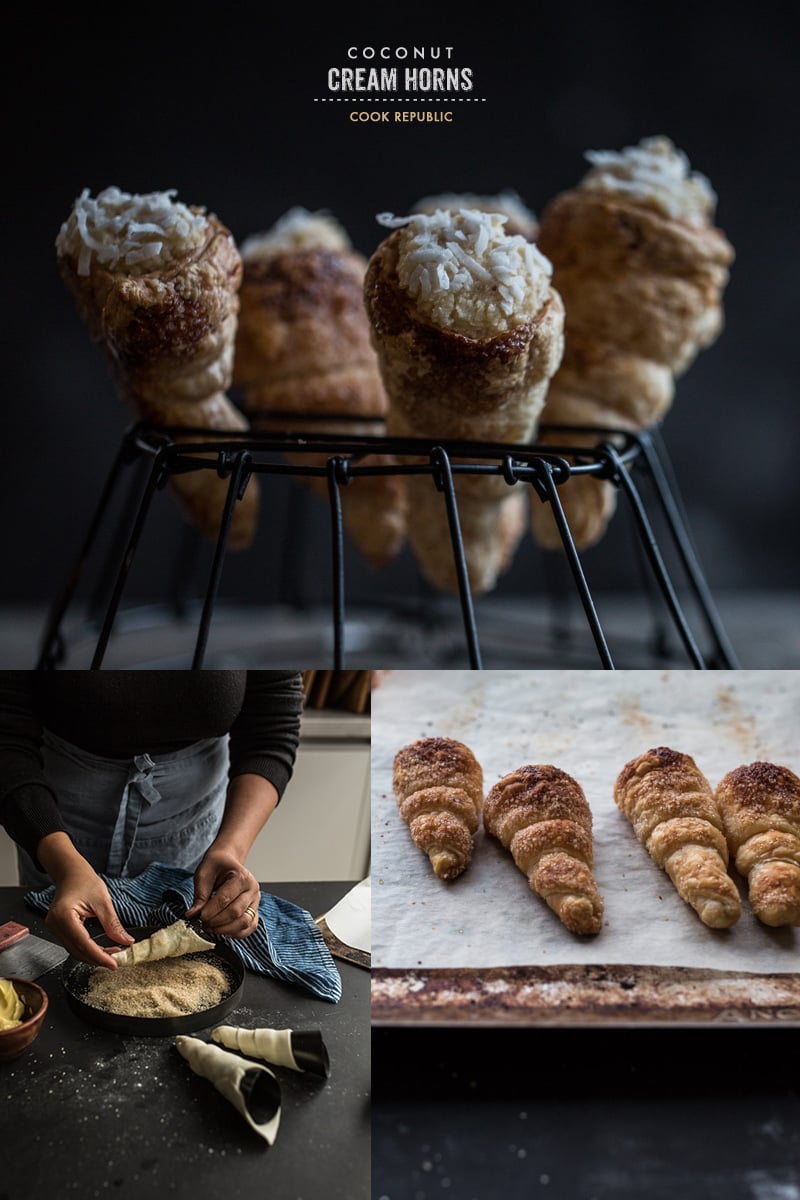
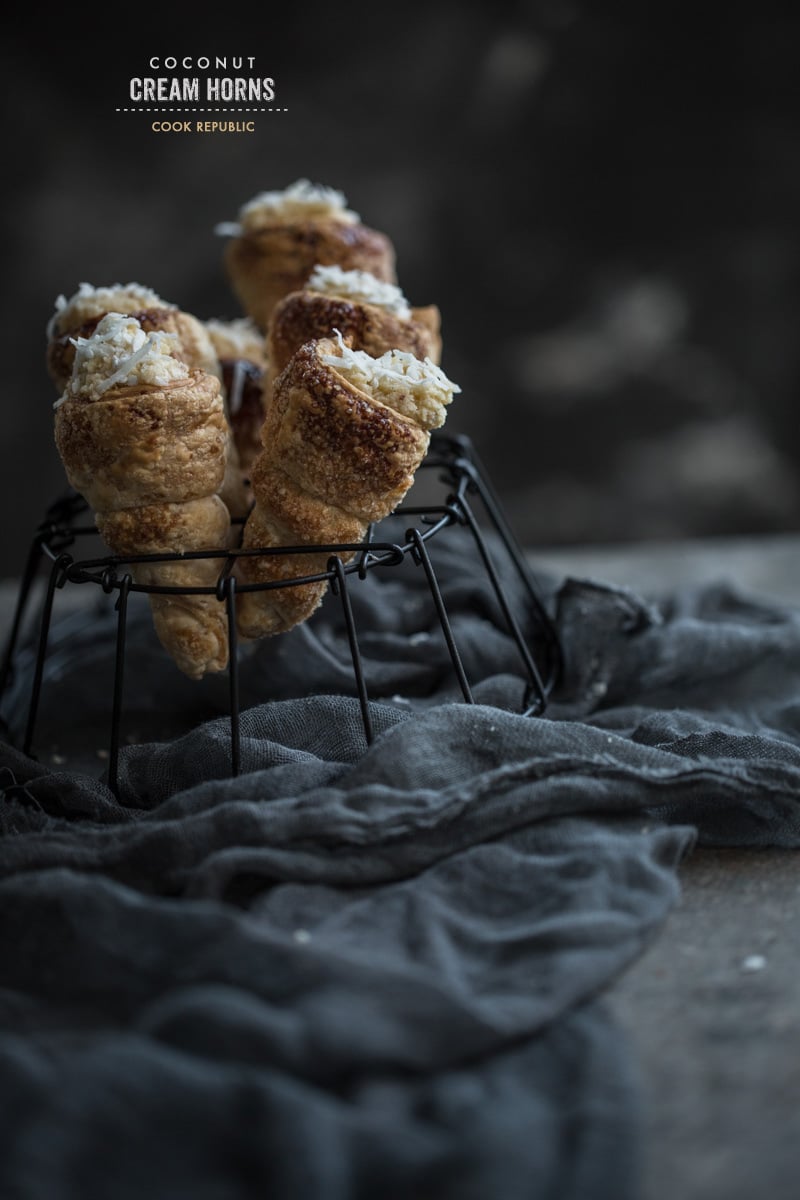
COCONUT CREAM HORNS
A magical pastry recipe shaped like little golden horns filled with a jam and coconut cream icing. The buttery sugar crusted pastry is what childhood memories are made of.
Makes 24
Ingredients
For the pastry
3 sheets frozen puff pastry (9 x 9 inches)
½ cup water for prepping pastry
½ cup CSR raw granulated sugar for dipping
For the cream
300ml pure double cream (thick cream with at least 50% milk fats)
2 tablespoon red fruit jam
2 tablespoons desiccated coconut
2 tablespoons CSR raw caster sugar
½ teaspoon vanilla powder or paste
extra coconut shreds for sprinkling
Method
Place all ingredients for the cream in a large bowl and beat with an electric beater until thick and creamy. Fill in a piping bag and place in the fridge until ready to use. (I often fill the pastry cream in a medium sized zip lock bag, making sure that the cream is pushed to one of the bottom corners of the bag, tie the top with kitchen twine and place in the fridge. When I am ready to pipe, I snip the corner with scissors to let the cream out.)
Line a baking sheet with baking paper. Pre-heat oven to 180C.
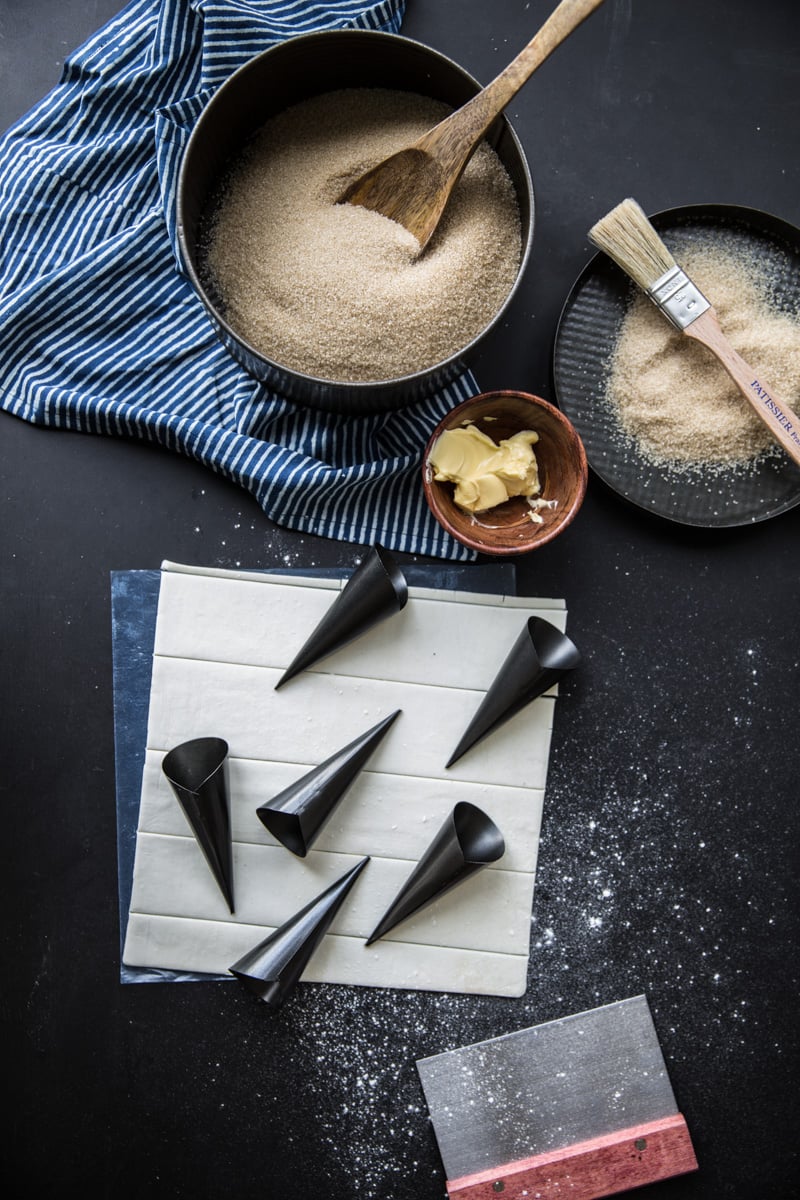
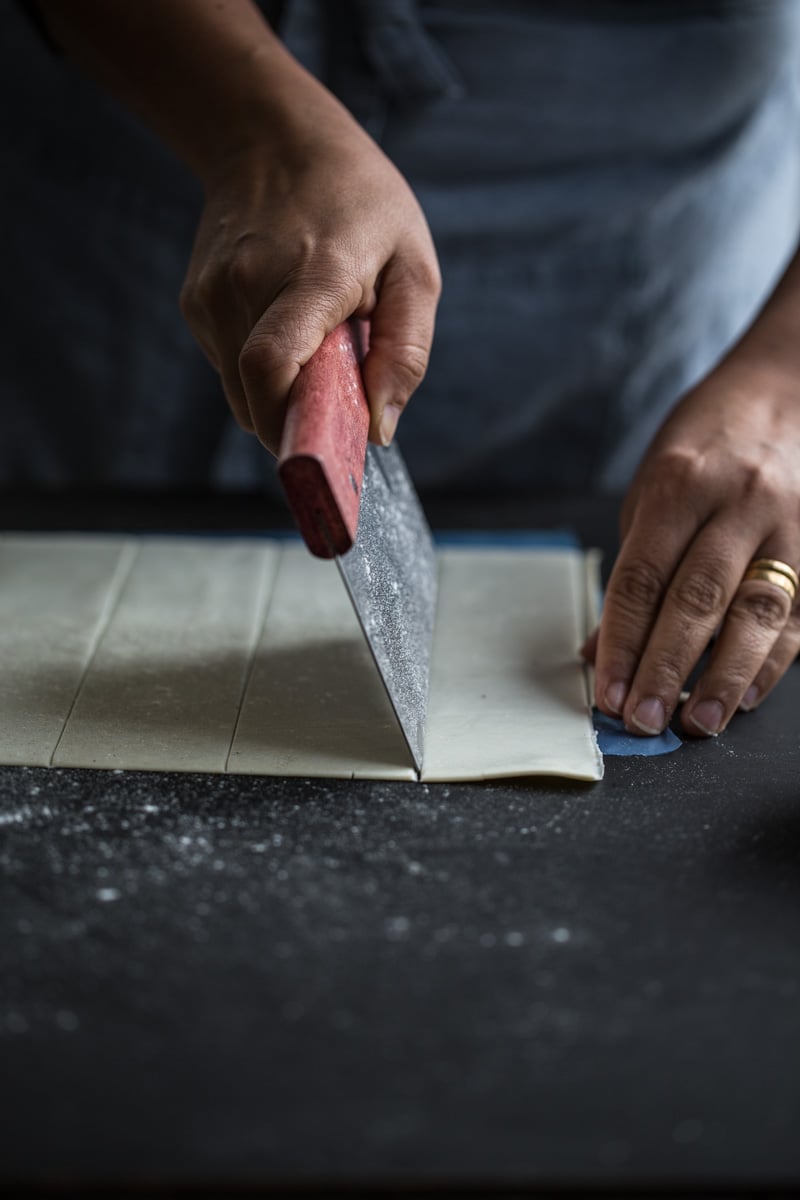
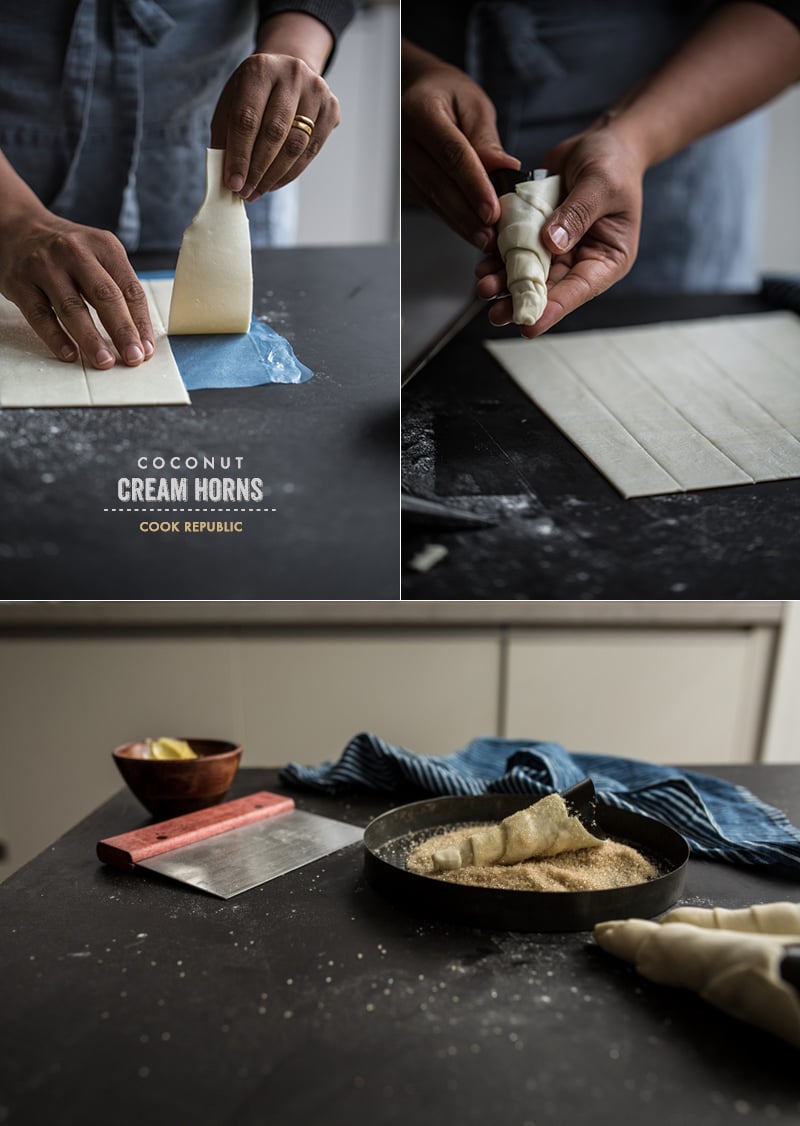
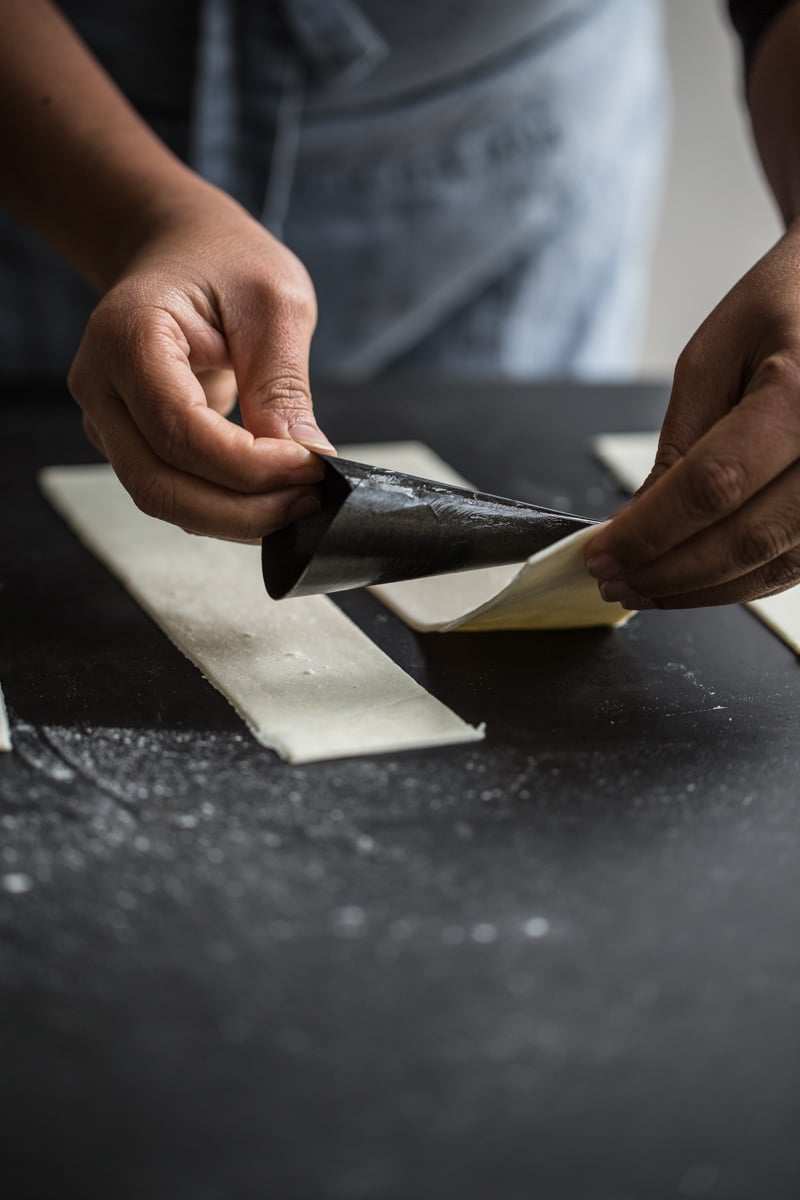
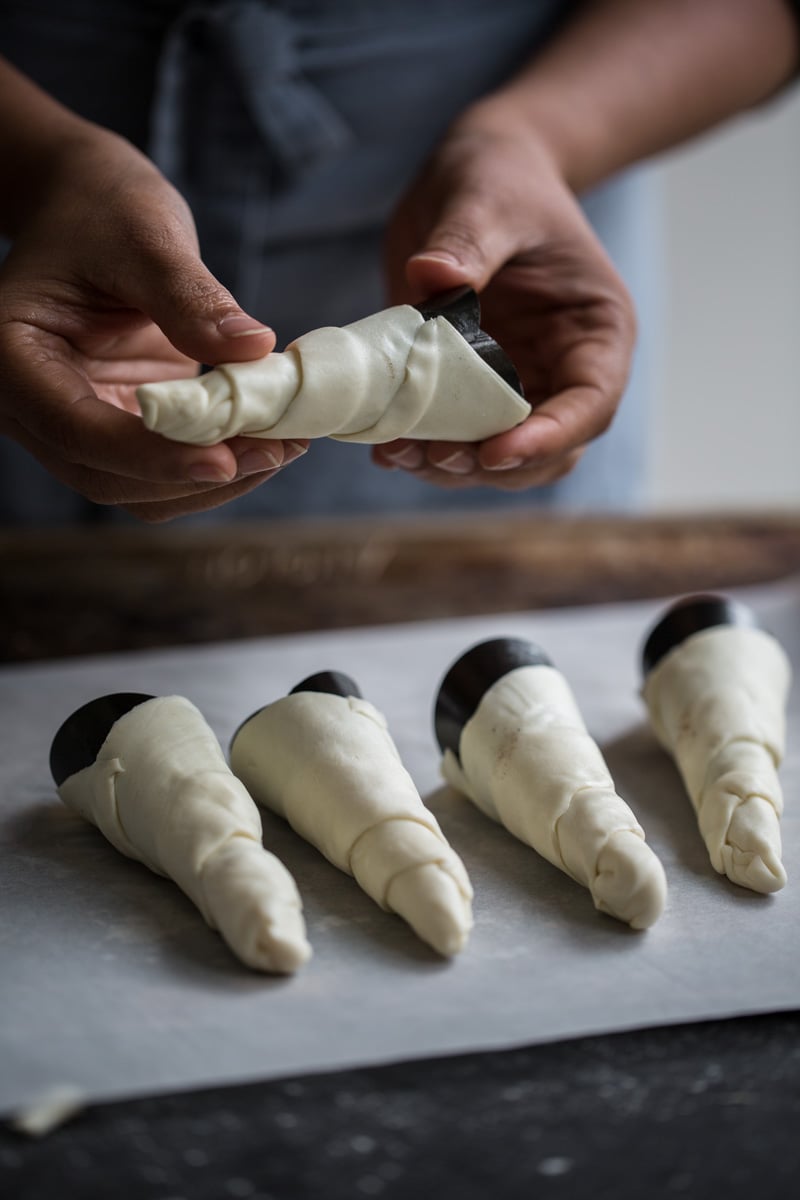
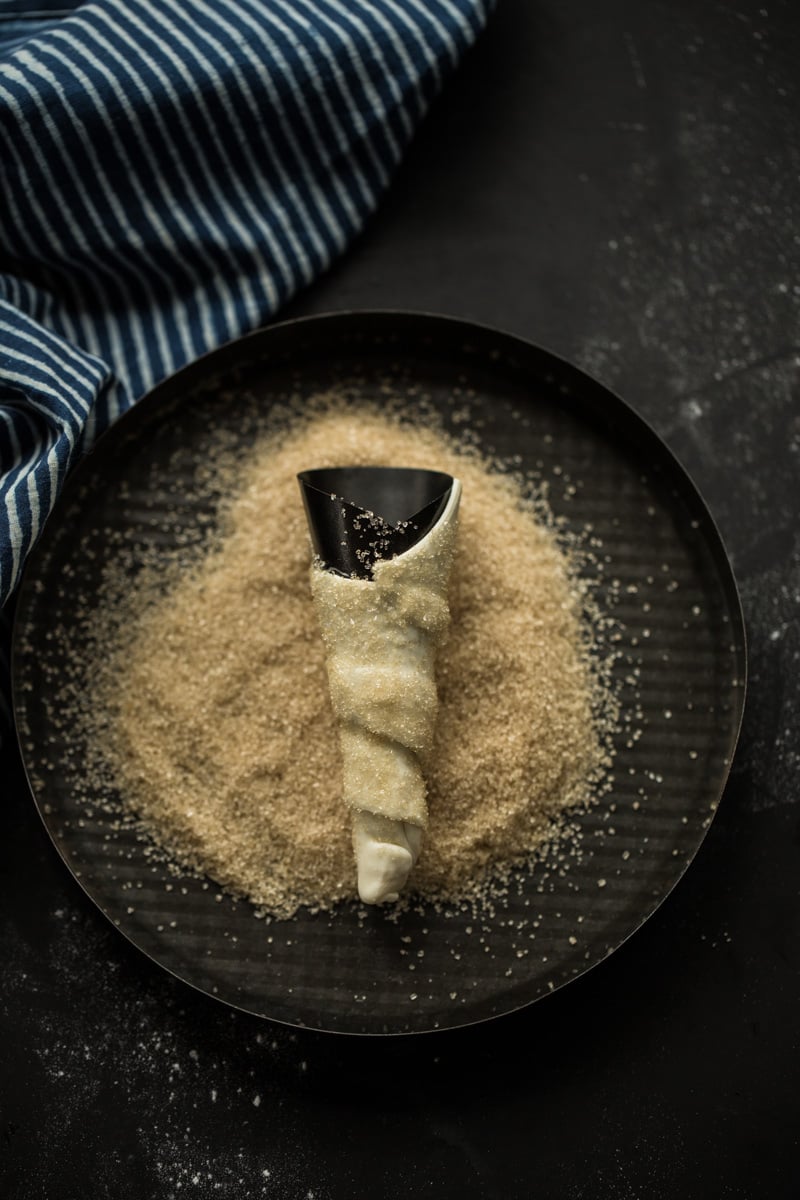
Lightly grease cream horn molds with butter. Thaw the pastry. Trim off edges if hard or cracked. Cut each sheet into approximately eight 1inch strips. Brush each strip lightly with water using a pastry brush. Starting at the far end, place the cream horn mold horizontally half an inch from the narrow edge of the pastry strip. Fold the top bit of pastry over the cream horn and seal the bottom corner of the mold. Without lifting the mold, roll the mold along with the pastry towards yourself to wrap the pastry evenly along the triangular cone. Dip the rolled pastry wrapped around the mold lightly in the granulated sugar and place seam side down on the prepared tray. Repeat with all the molds.
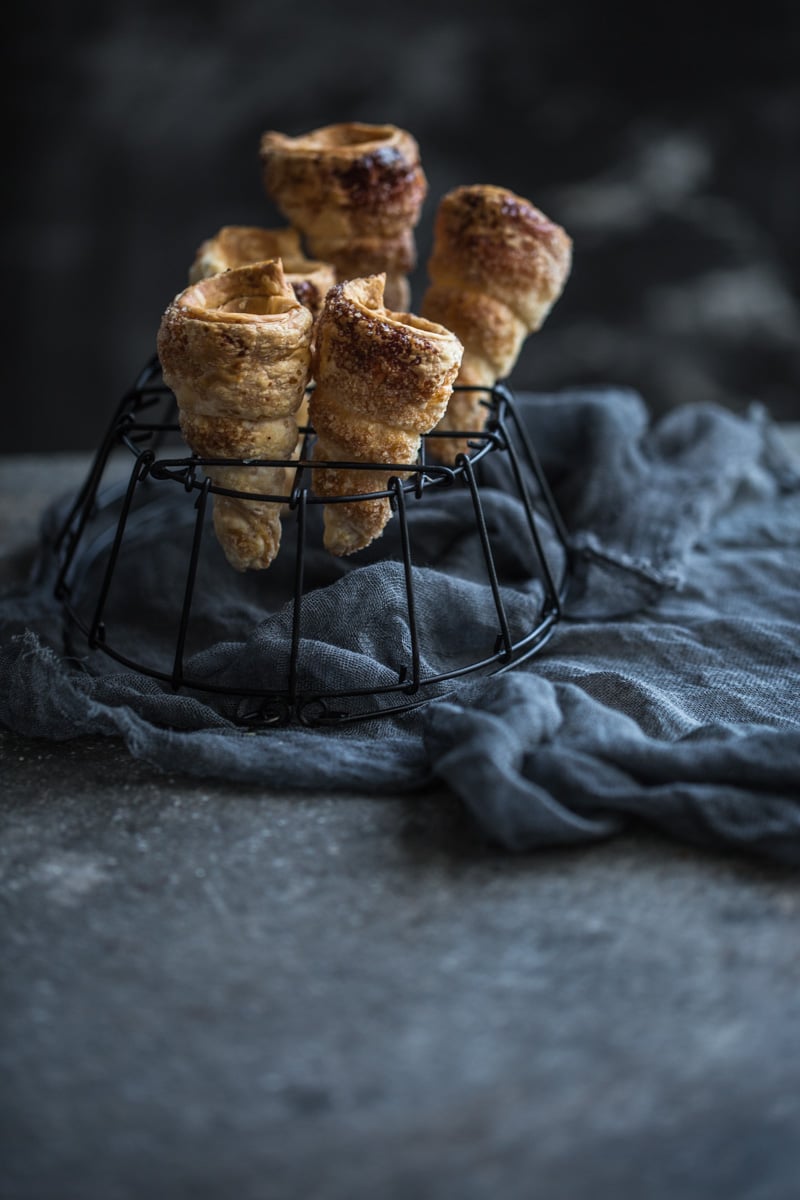
Bake in the pre-heated oven for approximately 20 minutes until pastry is golden. Watch the pastry cases towards the end of their baking cycle, if the crusted sugar starts to burn, reduce oven temperature to 170C. Once ready, remove from oven and transfer to a wire rack to cool completely. The pastry with go hard and crisp once cooled. Remove the molds gently from the pastry. Now the pastry is ready to be filled.
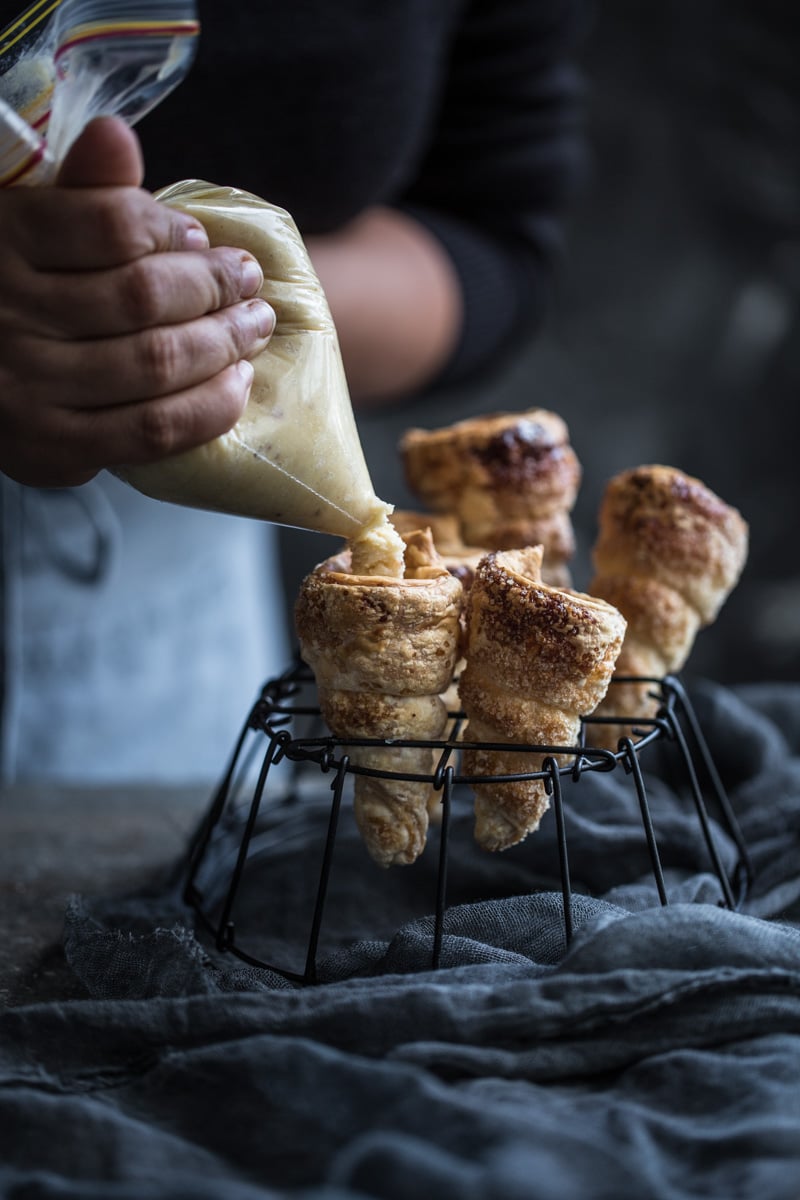
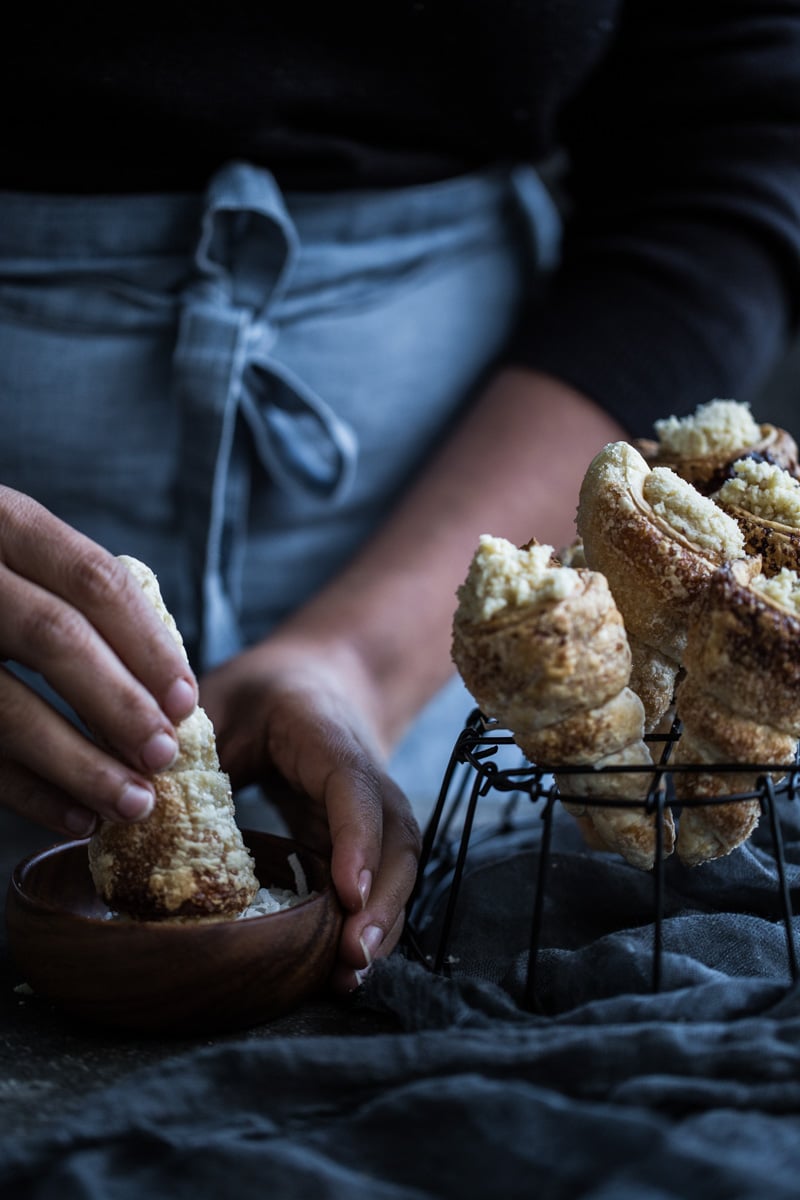
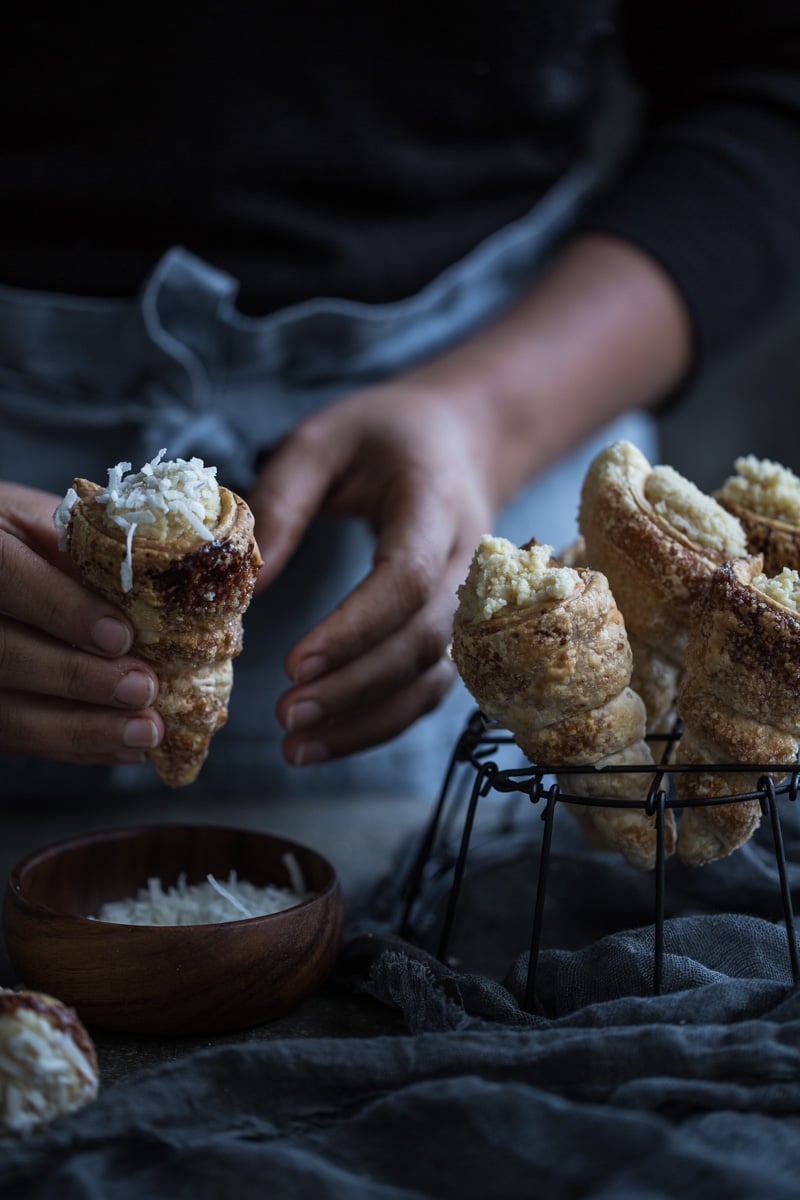
Place the nozzle of your piping bag into the cone and pipe the pastry cream all the way to the top. Dip the cream end in shredded coconut and store the cream horns in an airtight container in the fridge for up to 3 days.
Notes
This recipe calls for 24 cream horn molds. I only have 8 so I make the pastry shells in 4 batches remembering to make sure the molds are wiped and then greased lightly with butter before wrapping the puff pastry around them.
[/print_this]
Note - This post is sponsored by CSR sugar. Words, emotions and opinions are my own.



CORNUCOPIA
This is a modification of the first biscuits I ever baked! It was responsible for getting me interested in food and baking.
Cranberry, white chocolate and macadamia chip cookies
150g unsalted butter, softened
1 cup CSR brown sugar
1/2 cup rolled oats, plus extra
1 teaspoons vanilla extract
1 teaspoon cinnamon
1 egg
1½ cups (225g) plain flour
½ teaspoon baking powder
½ teaspoon table salt
200g white chocolate chips
3/4 cup cranberries
150g macadamia nuts, chopped
1/4 cup CSR raw sugur
Preheat oven to 160°C. Place butter, brown sugar and vanilla in an electric mixer and beat until pale and creamy. Scrape down the sides of the bowl and add the egg, beating well to combine. Add the flour, cinnamon, baking powder and salt and beat on low until a dough forms. Fold through the chocolate, oats, cranberries, and macadamia nuts. On a tray lined with baking paper place heaped tablespoon size of the dough and flatten slightly, allowing room to spread. Lightly sprinkle the top of the dough with the extra oats and raw sugar. Bake for 15–18 minutes or until golden. Allow to cool on trays before serving. Makes 22.
cornucopia
My sweetest memory is Mum's little squares of tablet wrapped up in grease proof paper waiting in a jar high up on the kitchen shelf.
SCOTTISH TABLET
Ingredients:
1kg CSR caster sugar
100 grams butter
1 tsp salt
250 mls full cream milk
50 mls CSR golden syrup
1 can condensed milk
Method:
1. Put all the ingredients except the condensed milk in a heavy based saucepan and
Bring to a rolling boil.
2. Add the condensed milk and stir in. Boil for approx. 20 - 30 minutes until the mixture darkens and thickens.
3. Remove immediately from the heat and beat with a wooden spoon until the mixture thickens and cools slightly. This takes a little while, but is worth the wait.
4. Pour into a greased baking tin (approx. 30cm by 21cm), mark squares with a knife while warm.
This horns looks really good, must be delicious 🙂 And I love your photos, they are great!
CORNUCOPIA!
Caramel Dumplings:
this pudding holds a cornucopia:) of fond memories; mum making the dough, sis and me shaping the little balls for her.
ingredients:
for the dumplings:
190g. self-raising flour
pinch of salt
60g. of butter, chilled and cubed
125 mls milk
1/2 tsp vanilla extract or paste
for the caramel sauce:
375 mls water
200g. brown sugar
20g. butter
pinch of salt
method:
Place the flour and salt into a medium bowl and stir together
Rub in the butter till the mixture is like fine breadcrumbs
Stir in the milk and vanilla with a large spoon
Give it a final mix with your hands till you have a smooth dough, and form it into walnut sized balls (or golf ball sized if you prefer)
Make the sauce by placing all the ingredients into a frying pan, and turn the heat on high
Let it come to the boil then take off the heat
Place the balls of dough gently into the sauce and let it simmer away on a low heat, covered, for about 20 mins or till cooked
Serve with lots of cream or ice-cream
A favourite cake of my kids, we share sweet family moments making it, the biggest bonus is it tastes superb, but quickly disappears. #madeformemories and #bakingnation CHOCOLATE WAFER CAKE Ingredients (makes 40 rectangular pieces)
150g pack of Wafers
350g Nestle Sweet Condensed Milk
300g NESTLE BAKERS' CHOICE Dark Chocolate Melts, melted
250g Unsalted Butter
150g Ground Walnuts
1 teaspoon Vanilla Extract
1 teaspoon Rum Essence (optional - love the taste)
Method
Combine ingredients together (except wafers). Mix with a mixer until creamy.
Lay one wafer on a tray, waffled side up.
Spread chocolate mixture over the wafer so that it’s covered.
Continue the process and lay one wafer on top of the other until you get to the last wafer (Do not place chocolate on the top of the last layer).
Place something heavy like a book on the top of the wafers (so the filling and the wafers tighten) and place in the fridge overnight.
Cut the chocolate wafers into rectangles and serve.
Nata Glavan's photo.
Snowballs, bring back fond memories of a European Christmas holiday, making them with my grandma, who is no longer with us. Sweet memories last forever. #madeformemories and #bakingnation Ingredients
• 7 eggs - for base
• 10 Tablespoons Sugar - for base
• 120 grams Flour - for base
• 1 Teaspoon Baking Powder - for base
• 3 Tablespoons Cocoa - for base
• 3 Tablespoons Vegetable Oil - for base
• 1 Litre of full cream Milk - for cream
• 7 Tablespoons Corn Flour - cream
• 7 to 11 Tablespoons Sugar - for cream
• 1 Lurpak Unsalted Butter 250grams - for cream
• Vanilla Sugar - for cream
• Chocolate Melts 250grams - for decoration
• 1 bag of Desiccated Coconut
Method
1. To make Base - Beat 7 eggwhites with mixer until fluffy and set aside
2. Beat 7 egg yolks and sugar with the aid of a mixer.
3. Add 3 table spoons of vegetable oil and continue to mix.
4. Gently start adding sifted flour/baking powder and cocoa, gently mix and set aside
5. Add the eggwhites to the mixture and gently mix with a whisk.
6. Place the mixture into a buttered rectangular pan and bake for 20 minutes on 180 degrees.
7. Take the baked base out of the oven and let it cool down.
8. Once cool cut the base in half and with the help of a round cutter cut out circles, you should approximately have 20 to 25 little tortes.
9. To make the Cream - Add half a litre of milk to a pan and turn on medium heat.
10. Meanwhile place 7 tablespoons of corn flour and 7 to 11 tablespoons of Sugar into a bowl.
11. Add enough milk to the cornflour ensuring there are no lumps in the mixture.
12. The remainder of the milk add to the milk in the pan.
13. Test whether the milk is hot. If the milk is hot place the cornflour mixture into the plan.
14. Gently mix until you start noticing a pudding forming.
15. Place the pan with the pudding into a basin with water, mix frequently until the pudding cools down.
16. In the meantime while the pudding is cooling down, take 1 Lurpak unsalted butter and a teaspoon of vanilla sugar and mix it together with the aid of a mixer.
17. Once the pudding has cooled down, add it to the butter mix and mix for 15 to 20 minutes with the aid of a mixer. This is enough time for the cream to develop a beautiful soft texture.
18. Once the cream is ready, take each torte one by one, taking one half of the circle and with the aid of a knife spread some cream over it.
19. Place the other circle on top of it so it becomes joined. To make a snowball place the cream on the sides, top and bottom.
20. As you make each snowball roll it in desiccated coconut and place on a plate.
21. For the final decoration melt half a bag of chocolate melts in the microwave and with the aid of a fork create zigzags with the chocolate on each snowball.
22. Place in fridge for a couple of hours. Tastes simply superb!!
Nata Glavan's photo.
A much loved Banana Cake, I remember mum making the cake and all of us fighting over who will finish off the delicious cream. #madeformemories and #bakingnation
Banana Cake
Ingredients
For Biscuit
6 Eggs
6 Tablespoons of sugar
2 Tablespoons of Cocoa
½ Teaspoon Baking Powder
For Cream
100ml Milk
2 Tablespoons of Flour
100grams of Sugar
2 Eggs
120 grams of Dark Chocolate Melts
200grams of Unsalted Butter
3 Bananas sliced
For White Cream
3 Egg Whites
¾ Cup
Sugar
Pinch of Salt
1/3 Cup Water
¼ Teaspoon of Vanilla Extract
Method
1. Beat 6 egg whites and set aside.
2. Beat 6 egg yolks and sugar, add flour, cocoa, baking powder and continue to mix.
3. Gently add the egg white in (1) to the mixture.
4. Butter a cake pan and place the mixture into the cake pan.
5. Place in the oven and bake on 180 degrees until the cake is done.
6. Take the biscuit out of the oven and let it rest.
7. Place the sliced bananas over the biscuit.
8. For the cream – Cook 2 eggs, sugar, flour and milk in a heatproof bowl over simmering water until it thickens.
9. Add chocolate to (8) and mix until the chocolate melts.
10. Set aside and let it cool.
11. Once the cream has cooled down at the butter and mix well with the assistance of a mixer. The cream should be smooth.
12. Spread the cream over the bananas.
13. For the White cream, in a heatproof bowl set over a saucepan in simmering water combine eggwhites, sugar, salt and water.
14. Stir until sugar has dissolved.
15. Transfer to a large bowl.
16. With the assistance of a mixer, beat until glossy, soft peaks start forming, add vanilla extract and beat until all is combined.
17. Spread the white cream over the cake, you may decorate as you wish.
18. You may spread shredded chocolate over the cake.
Nata Glavan's photo.
Chocolate Tortes #madeformemories and #bakingnation
That sweet smell of mums baking always remains with me, the fun we had while baking them is a moment that I will treasure.
Ingredients (makes 40 Cookies)
• 300g Plain Flour
• 200g Unsalted Butter
• 100g Caster Sugar
• 100g Ground Walnuts
• 1 teaspoon Vanilla Essence
• 150g Ground Walnuts
• 1 teaspoon Rum Essence (optional)
• 1 teaspoon Sugar
• 100g Apricot Jam
• 375g NESTLE BAKERS CHOICE Dark Chocolate Melts
Method
1. Mix all the ingredients together for the dough (flour, butter, caster sugar, ground walnuts and vanilla essence)
2. Roll the dough out with the assistance of a rolling pin
3. Cut out round shaped dough with the assistance of a small round cookie cutter.
4. Line 2 trays with baking paper and place the cookies on the tray.
5. Preheat the oven on 180 degrees and bake for 12 to 15 minutes.
6. Leave cookies to cool.
7. Make the walnut filling by grounding 140 grams of walnuts and combining them with 100 to 200 grams of apricot jam, add rum essence to the mixture. It gives it that delightful zing.
8. Spoon the mixture on one round cookie and stick it to another, continue this process until all cookies have been done.
9. Place in the fridge so the filling tightens, 1 to 2 hours.
10. Melt 375grams of NESTLE BAKERS CHOICE MELTS in a pan.
11. Dip each cookie into the chocolate ensuring all sides are covered and place on a tray covered with bakers paper. Continue this process until all cookies have been covered. You may place a walnut or an almond on each cookie.
12. Place in the fridge for a couple of hours.
Nata Glavan's photo.
Hi Sneh, I would love to share my favourite CSR recipe.
Marshmallows! When we were growing up (I am in my 50s now) sweets were not a normal thing. They were a very special treat so whenever we would have treats, mum would make marshmallows.
.
I still have the recipe I wrote out in my teens,with all the stains from the splatter of the ingredients as we had no protective covers then. and every time I look at this recipe it brings back so many wonderful memories, I treasure this recipe even though it is quite a common thing, I go back to the days of my childhood.
Sometimes I coat them in chocolate, sometimes in toasted coconut, and sometimes in jelly crystals depending on the event. It is my privilege to share this with you and hope it brings a smile on your face…
4 tablespoons gelatine
1 cup cold water
4 cups CSR plain white sugar
2 cups boiling water
2 tablespoons vanilla
2 tablespoons lemon juice
250g coconut (toasted to add that extra flavour)
sprinkle gelatine over cold water. Put sugar and boiling water into large saucepan and stir over low heat until sugar is dissolved. Bring to boil . Stir in gelatine mixture and boil steadily uncovered for about 20 minutes.
Allow to cool to luke warm
Pour mixture into a large bowl with balloon whisk and beat on high speed until very thick and white.
Pout into 2 x deep 20 cm square tins which have been rinsed out with cold water.
Refrigerate until set. (you can spray a very small amount of cooking spray if you are worried about sticking)
Toast the coconut over a moderate heat, stirring constantly until golden and remove immediately or coconut will burn.
Once marshmallow is set, cut into squares and toss into coconut.
(For something different you can melt chocolate and dip marshmallows into chocolate then coat in coconut or sprinkles)
You can add any flavour you like too
enjoy and thanks for sharing my special recipe.
CORNUCOPIA!
This recipe is so special because it's filled many birthday cakes, been shared straight from the jar with friends and is my MOST asked for and shared recipe.
Ingredients
400 grams of CSR caster sugar
125mL of water
150 grams of salted butter
250mL of cream
sea salt flakes
Instructions
1. Place the sugar and the water in the base of a heavy bottom saucepan. Do not stir.
2. Allow the sugar and water to come to a boil and simmer away on medium. Do not take your eyes of it!
3. Once the sugar is a slight amber colour, remove from the heat and whisk in the butter.
4. Once it is all combined, return to the heat and add the cream while whisking. It'll become silky and smooth and there will be no fat separating from the caramel.
5. Remove from the heat and add about a teaspoon of salt and whisk. Add some more if you think it's needed.
6. Allow to cool, but place in a jar while still slightly warm.
Notes
Makes one 500mL jar
Not entering the competition (can't think of a good recipe off the top of my head!), but I just wanted to say what a lovely story you shared Sneh. It's amazing how childhood memories like that can stick with you throughout the years.
CORNUCOPIA
Caramel Coconut Delight
This Argentine treat is a relative of the caramel slice, but it’s a whole different experience with its crackly coconut topping and gorgeous soft base. The pre-made caramel filling saves time on the original dulce de leche version, which involved boiling a tin of condensed milk for hours -- and is just as delicious.
Ingredients:
200g butter, melted
2 cups self-raising flour
2 eggs
380g can of Nestle Top n Fill Caramel
1 cup CSR Caster Sugar
1 cup coconut
2 more eggs
1 tspn vanilla
Method:
1. Preheat oven to 180 degrees fanforced
2. Line a brownie pan
3. Combine the butter, flour and 2 eggs, and gently press the resulting mixture into the brownie pan with your fingers, forming the base of your slice
4. Using a spatula, spread the caramel evenly over the base
5. Combine the sugar, coconut, vanilla and 2 eggs, and pour the mixture into the brownie pan, spreading it evenly over the caramel
6. Bake for 15 to 18 minutes, or until the top is a light golden colour. If you let it become deeply golden, the base of the slice may dry out.
7. Let cool in the pan for 10 minutes. Slice and serve.
Tip: if you can't get enough caramel, you can increase the amount you use. It's incredible with two cans!
An easy family favourite my mum taught me to bake when I was a child. It made us both feel closer to our home country.
Absolutely gorgeous photography and a tutorial for something I've never made. Now I think I need to source some of those forms!
This is so lovely, Sneh. <3
Just gorgeous, I love that cream filling!
I love your recipes, I adore your photography, but I think it is your stories I have always loved best. x
Hi Sneh, well cream horns - seem to share fond memories. Mine instead were when I was in primary school and a new classmate would bring in cream horns filled with sweet fresh whipped cream with a touch of strawberry jam prepared by her mum. Even back then when I was 10 I was inquisitive about baking and anything sweet so I would stare in wonder at these gorgeous cakes. So she brought me one in one day and I was lost in heaven...I mean it was perfection and I am certain my obsession and love of pastry began at that one moment. Years ago I purchased the moulds and so I made them a year or so ago and posted them on fb and tagged same classmate - she wondered 'are you a pastry chef?' and I responded no - I tagged you because your mum used to make these for you and you brought one in for me one day. She had no recollection of either .... but my memory was fixated on this one significant event in my food history. Now I was the Italian kid that grew up with Italian cakes which didn't seem interesting to me - I wanted Neenish Tarts, Cream Buns, Pineapple Donuts ... sweets filled with shock horror mock cream (I still love mock cream) and I did regularly back in the day when consumption of sugar brought only bliss and not thoughts of calories etc... Either way thanks for this post I think I will go home and make these for my boy tonight.
Sunday is Mother's Day here and these coconut cream horns would really make Mom smile!
Exquisite! A great treat.
As always, I love your shots.
Cheers,
Rosa
Hi Sneh, what a beautiful memory! You're right in that many good memories for me also involve baking and sweet treats (though there are plenty of other foods also). I have scars to prove my affection for fresh cream eclairs and memories of my cousin's rosehip jam donuts. Beautiful recipe and images as always. 🙂
Dear Sneh,
I'm a big fan of your blog. I have read all your posts and I try your recipes, but I've always been a silent fan 🙂 never commented on any of your posts before. But this one is very very special to me. It brought back memories of cream rolls, a bakery opposite my house where I grew up, my mom buying me these glorious cream rolls when I got back from school, just so many fond memories associated with this recipe. Thank you so much for bringing a smile on my face today. I'm going to try making these really soon 🙂