In recent years, One-Pot cooking has taken the foodie world by storm. It is an ingenious way to cook, with one appliance doing everything from sautéing and searing to pressure cooking and slow cooking. It is highly covetable especially if you want to cook and eat a more vegetarian diet as it allows you to use the endless varieties of beans and lentils sitting in your pantry to create delicious meals. A Multi Cooker that can pressure cook*, slow cook, sauté, simmer, steam and bake is a lifesaver in the kitchen. And it is the master of meal prep. Two or three hours of cooking batches of meals in this means that I have fresh meals for most of the week with enough to freeze for a rainy day.
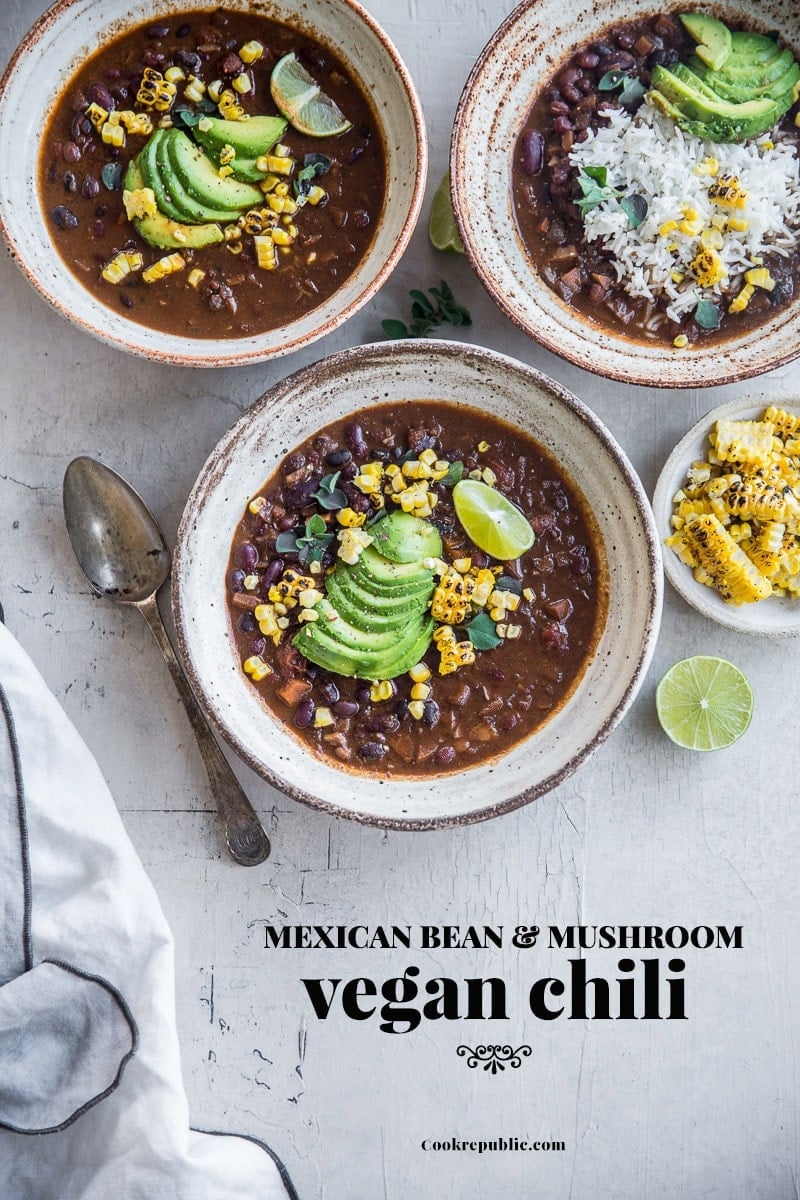
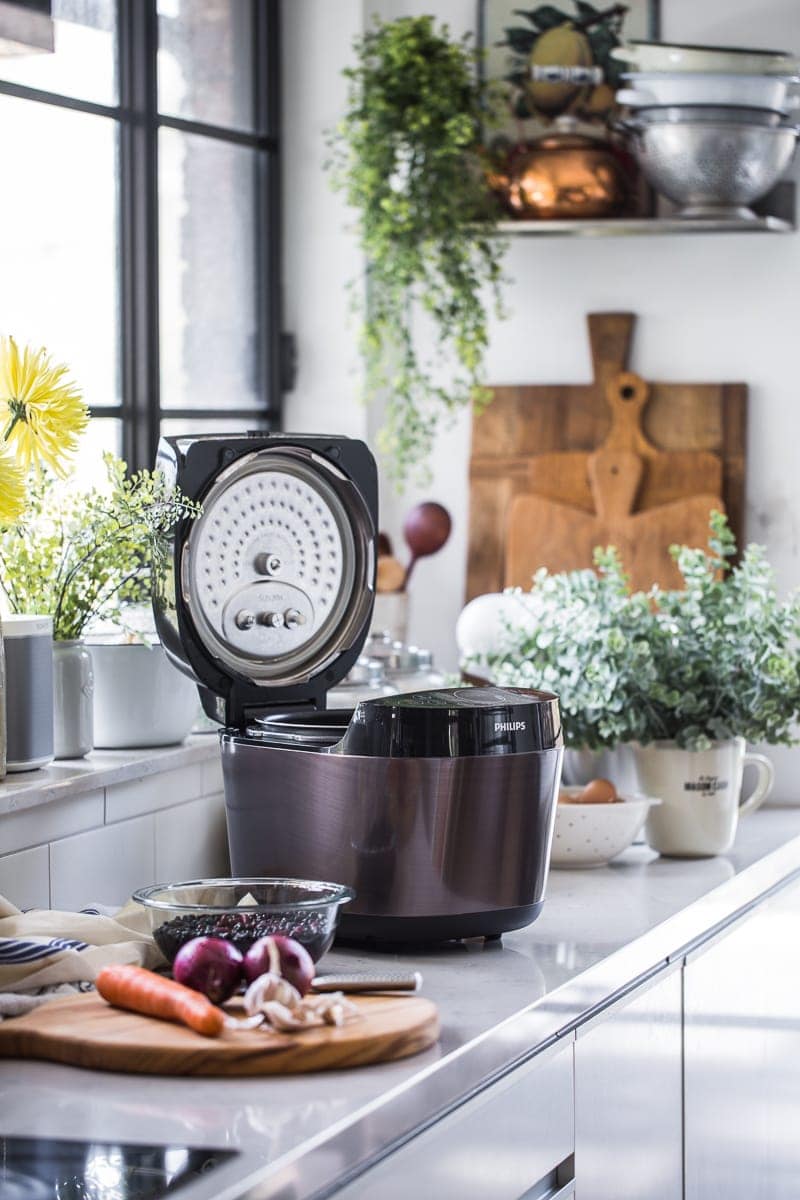
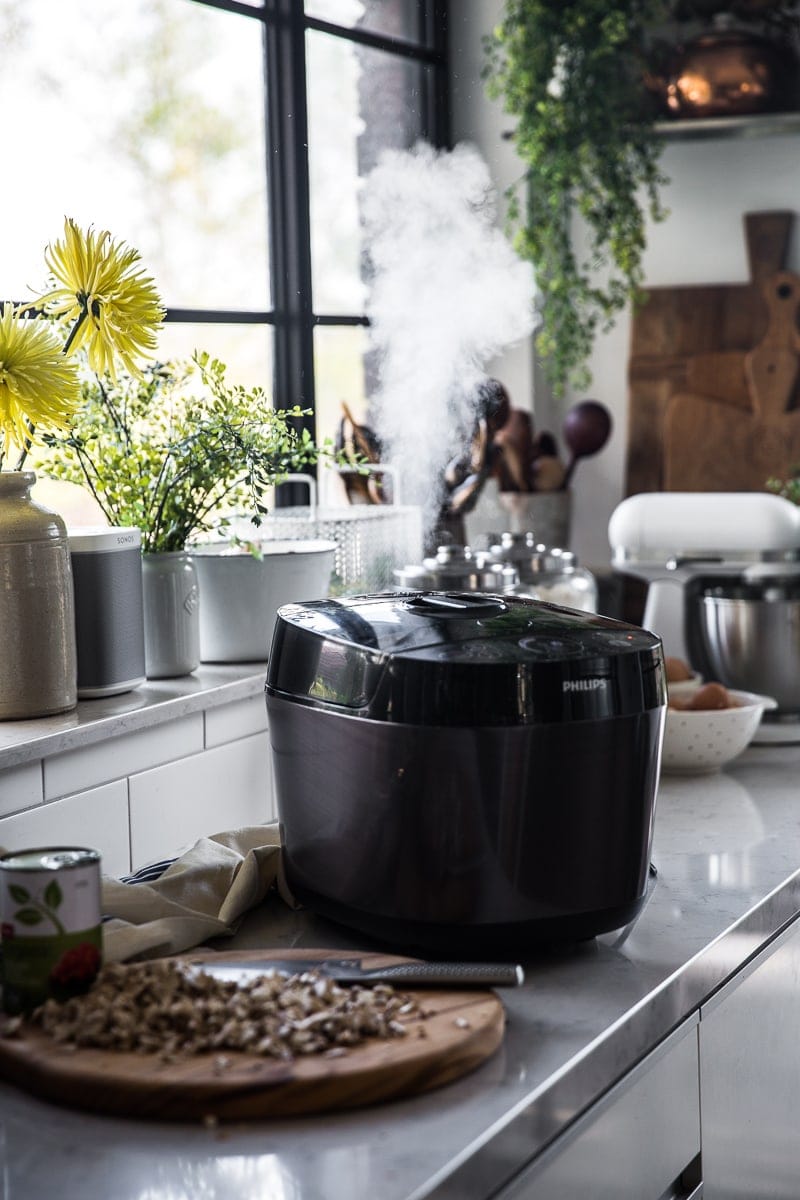
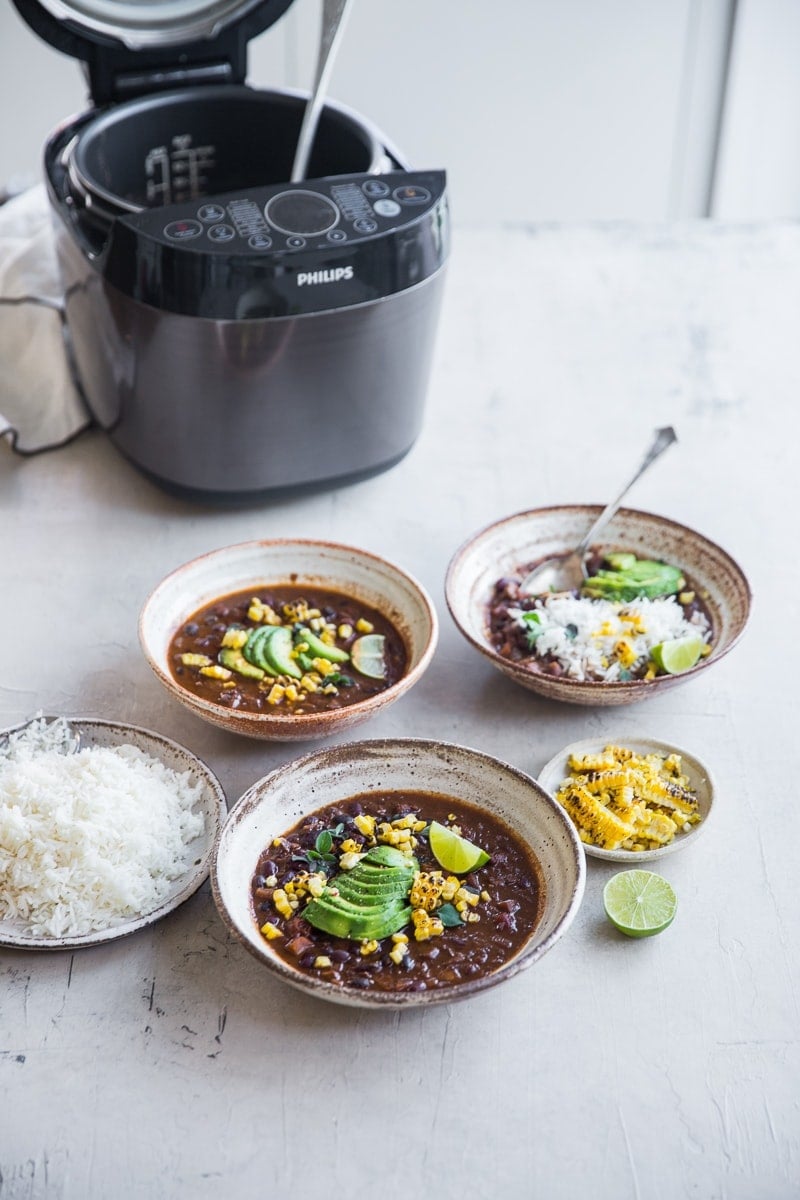
After researching for weeks, I finally bought the Philips Premium All-in-One Cooker before Christmas. It was the best investment I ever made for my kitchen and my health, using it practically every day to create delicious vegetarian/vegan meals – curries, daals, stews, soups, slow cooked oats, pasta sauces and even making my own yoghurt. With the launch of the even more advanced Philips Deluxe All-in-One Multi Cooker (HD2145/72), I am very excited to collaborate with Philips and share my thoughts on why you need this appliance in your life along with a beautiful recipe for a Mexican Bean And Mushroom Chili that will warm your cool autumn evenings.
PROS
I want to first talk about some amazing features that this Philips Deluxe All-in-One Cooker has and why I love it so much.
- It has a whopping 6L capacity which means cooking for a family of 4-6 is a breeze. It also means batch cooking and meal prepping is a sheer pleasure as you can cook large amounts to freeze for later.
- It can do a lot of things – sear, slow cook, pressure cook, steam, bake and even ferment. It makes me giddy just thinking of all the possibilities and health benefits that can be achieved from using this single appliance.
- It is completely and absolutely safe with 18 safety features including a child lock.
- It has a pressure release button that safely releases pressure automatically and beeps to let you know when it is safe to open the cooker. I find this extremely valuable as the manual pressure cookers I have had in the past make me very anxious.
- It has a 24-hour easy-to-program preset timer and a 12 hour Keep warm function.
- Cleaning is super easy. The cooking bowl is dishwasher safe, although I still like to hand wash it for longevity. The rim that catches the water from the steam is easy to mop up with a paper towel. The rubber seal and top plate comes off easily for rinsing. Other than that, there is nothing else to clean. I have also found that this model doesn’t make a mess when releasing function. There is no sputtering due to excessive water/steam release. It releases steam in gentle puffs – slowly and at intervals and does a clean job of it. Which means I don’t have to clean up much after the cooking process.
- This advanced model has a new Add ingredient function which allows you to safely open the cooker and add ingredients during pressure cooking (I have included this in the recipe I have shared so you get a taste of how this function works). No need to worry if you have forgotten to add an ingredient while pressure cooking, this function takes care of that problem safely and easily.
- This model also has a very handy Sauce thickening function. I find this super useful after pressure cooking or slow cooking when I want the sauce to be thickened at the end. I can now do this with the touch of a button and it finishes off the recipe nicely.
ROOM FOR IMPROVEMENT
My only drawback for this fantastic little machine is that it only comes with a non-stick cooking bowl. The bowl itself is quite high quality and performs every single cooking task to perfection but I would’ve loved a stainless-steel bowl as well, like in the previous model. Having two bowls would mean faster cooking and the freedom of choice to use stainless steel when you want to.
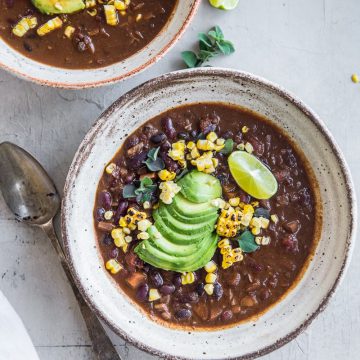
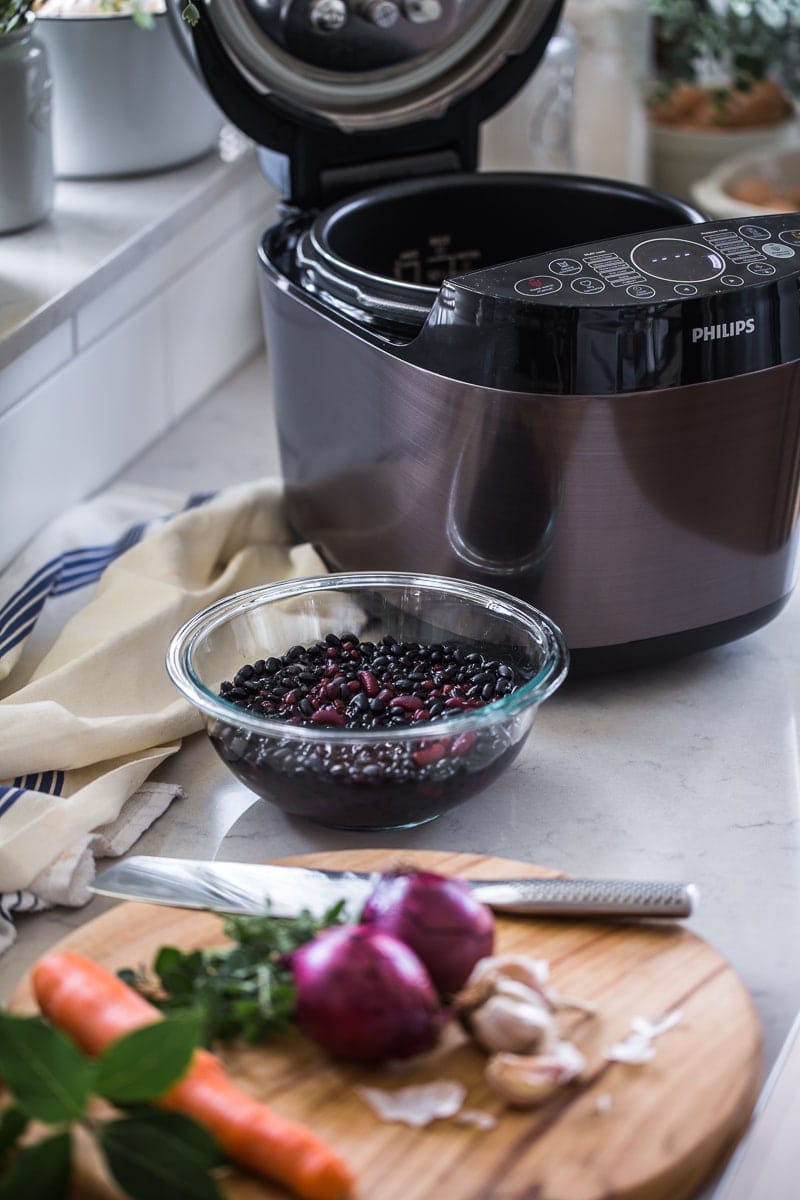
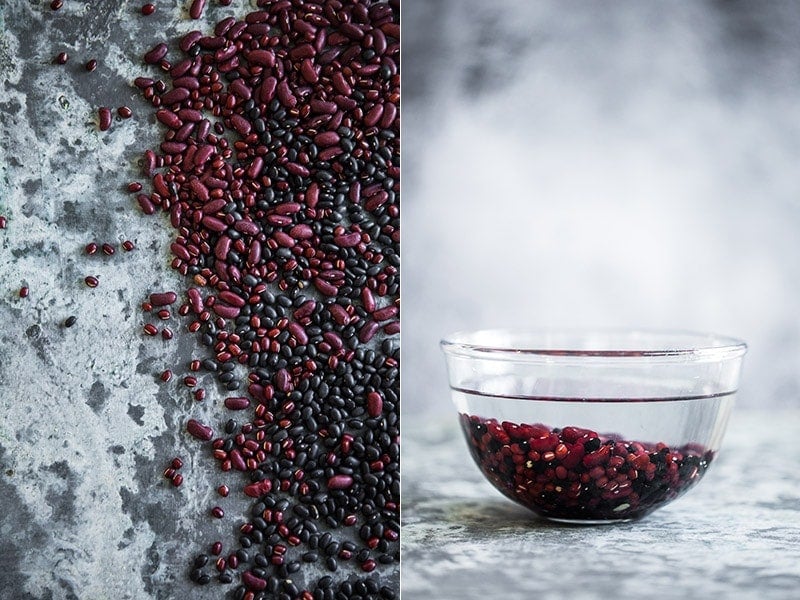
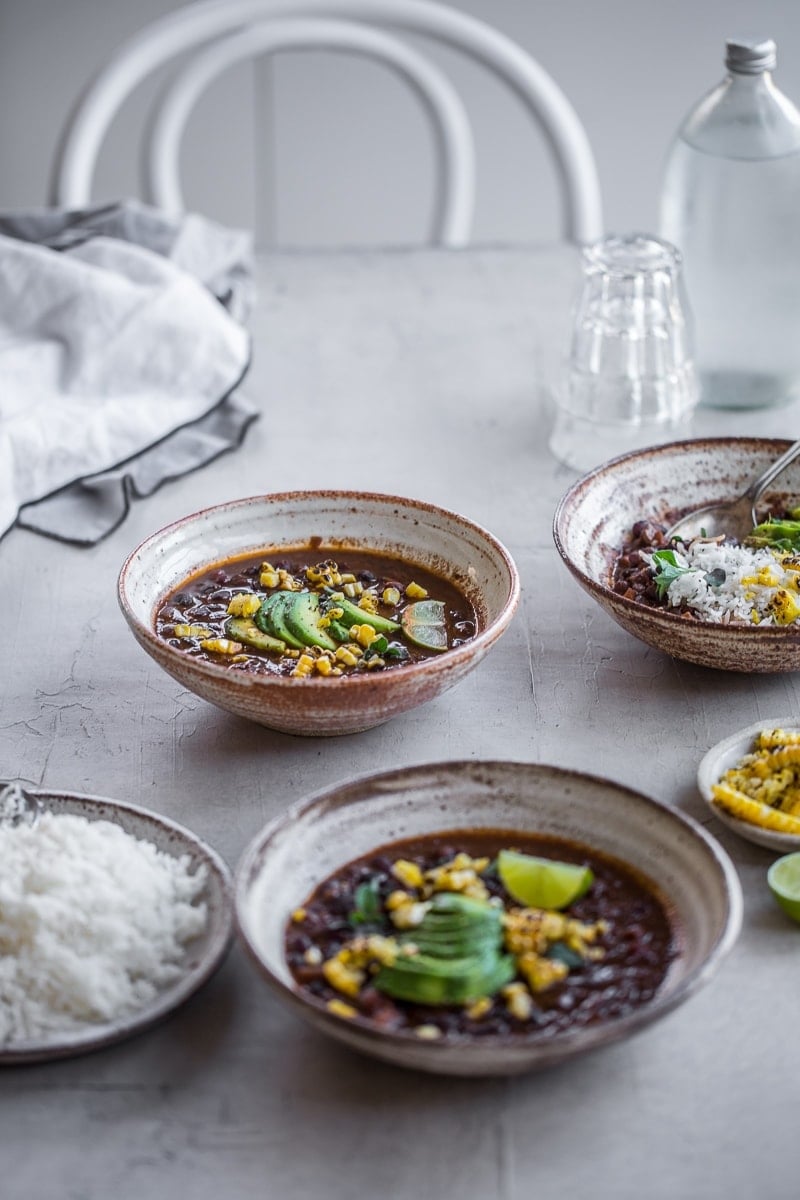
Now let’s talk about the recipe. I have used a combination of three of my favourite beans. Black beans, red kidney beans and adzuki beans. I love how they are different shaped and bring a lovely texture to this vegan chili. They are also quite firm and hold their shape well after cooking. It is important to pre-soak the beans in order to get a great end result. I soak them overnight in cold water if I have plenty of time or if I have remembered to do so. Otherwise, I soak them in boiling water for a couple of hours and that does the trick.
I have used miso paste for a rich salty hit to the chili. It works really well with all the Mexican flavours here. I always have a few dried chipotle chillies on hand. They are smoky and bring a world of charred street flavour to the dish. Don’t worry if you don’t have the dried chipotle chilli, the smoked paprika does a good enough job to. I like to use white cup mushrooms for my chili as they are firm and meaty with a very deep flavour. Adding them towards the end of the cooking cycle means that they are cooked just right and retain all their nutrition value.
This recipe will surely become an instant hit in your kitchen. It is great to slurp hot as soup on a cold night or to top your nachos or bulk up dinner with rice or even over you toast in the morning for a Mexican styled breakfast. It freezes well and keeps in the fridge for 3-5 days. If you make it and love it, I would love to hear your feedback in the comment/rating below. Thanks lovelies! x
Recipe
Hungry For More Recipes? Subscribe to my newsletter. Check out Facebook, Instagram and Pinterest to see everything I share! And if you love cooking and new cookbooks, join my free Cooking Club on Facebook!
Ingredients
- ½ cup (100 g) dry black beans
- ½ cup (100 g) dry red kidney beans
- ½ cup (100 g) dry adzuki beans
- 1 tablespoon olive oil
- 2 bay leaves
- 8 garlic cloves, minced
- 2 small red onions, chopped
- 1 carrot, diced
- 2 tablespoons ground cumin
- 1 tablespoon ground coriander
- 2 teaspoons smoked paprika
- 2 tablespoons miso paste
- 1 tablespoon dried oregano
- ½ dried chipotle chilli, optional
- 150 g white cup mushrooms, diced
- 400 g can diced tomatoes
- 1 teaspoon salt
- 4 cups water
- 1 sliced avocado, to serve
- lime wedges, to serve
Instructions
- Soak beans in 3 cups boiling water for 1-2 hours. Drain.
- Plug in the Philips Deluxe All-in-One Multi Cooker and turn the switch on. Using the left arrow, select the Sauté/Sear function under Multi cook. Increase time to 5 minutes by pressing the timer button and using the arrow keys. Press the start button.
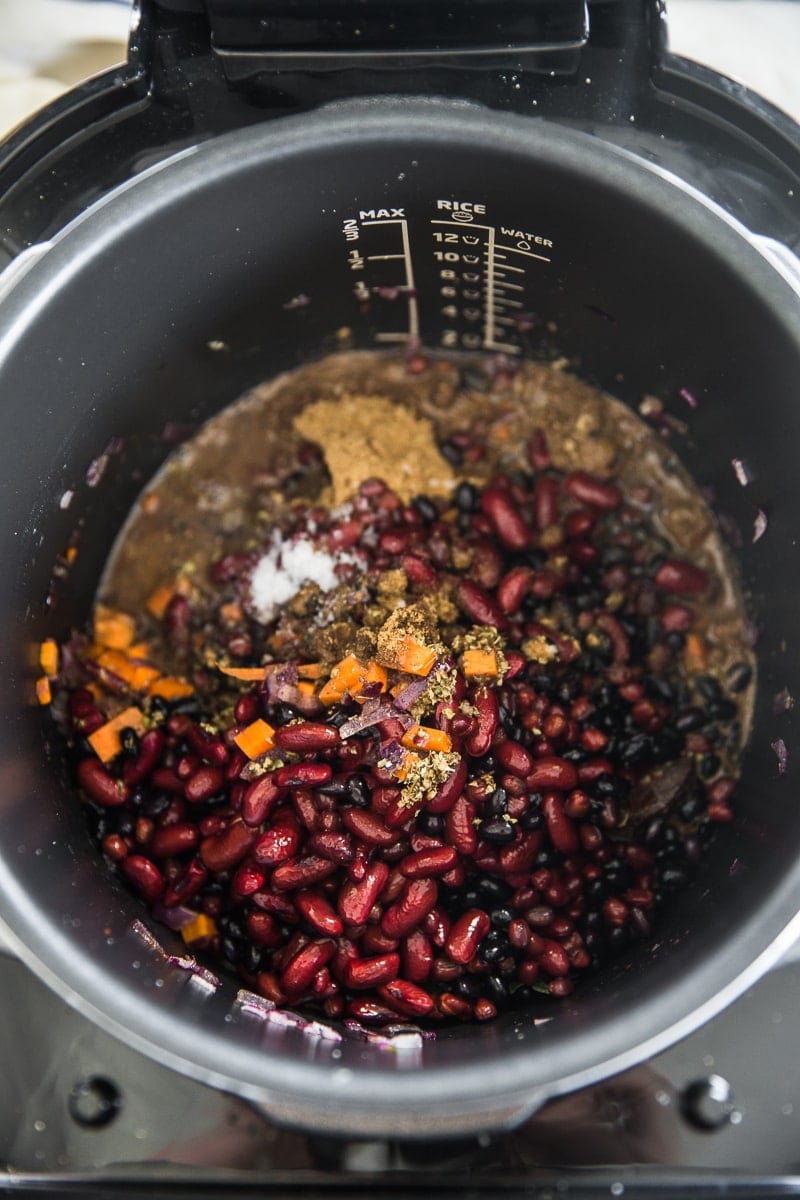
- Pour oil in the bowl of the Multi Cooker. Add bay leaves, garlic and onion. Sauté for a couple of minutes until onion starts browning. Add carrot, cumin, coriander, paprika, miso, oregano and chilli. Sauté for another couple of minutes until sizzling and mixed thoroughly. When the Sauté/Sear function runs out and beeps, press cancel.
- Add the soaked beans and 4 cups of water to the bowl. Mix well. Using the right arrow, select the Soup/Lentils function under Pressure cook. Increase time to 30 minutes by pressing the timer button and using the arrow keys. Press the lid down and turn the knob to lock. Press start.
- When about 8 minutes of cooking time is remaining, press Add ingredient. Once the pressure is released and the unit beeps, open the lid and add mushroom, tomato and salt. Close the lid and lock it. The Chili will continue cooking.
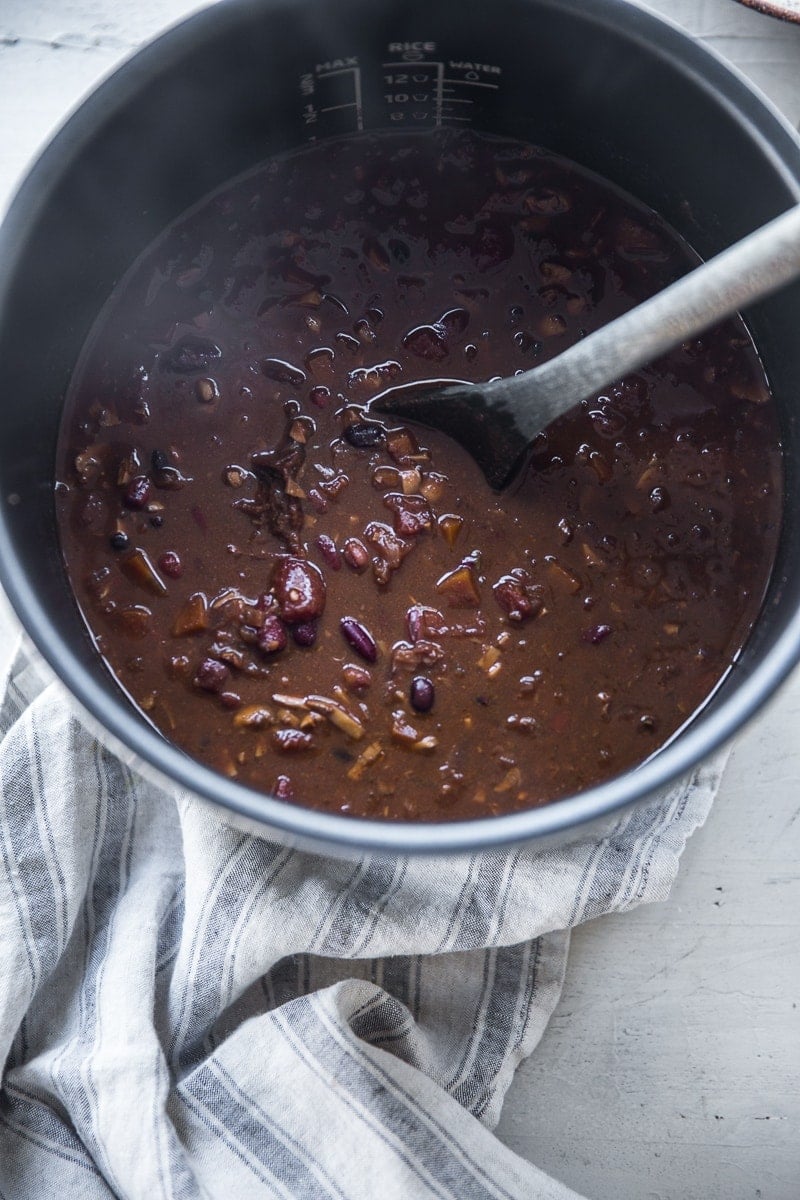
- When the Chili has finished cooking, open the lid and stir thoroughly. Adjust seasoning if required and use the Sauce thickening button if you need a thicker Chili.
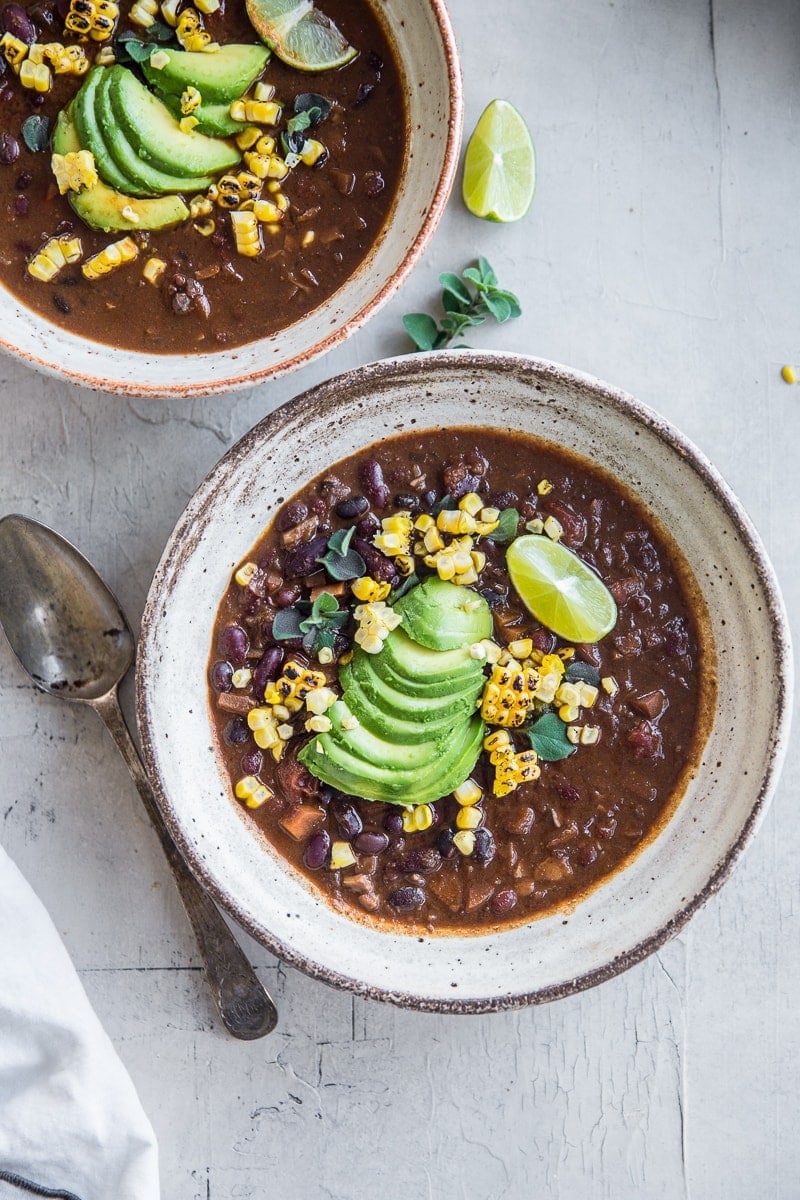
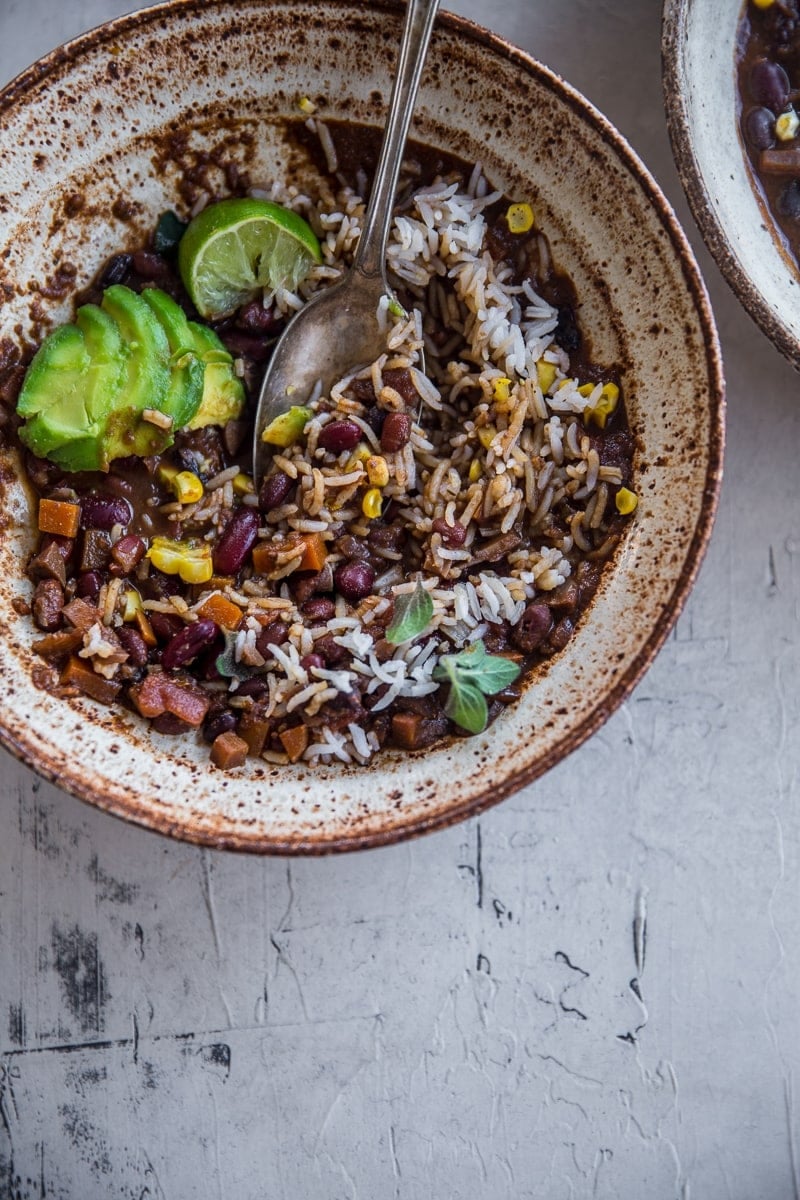
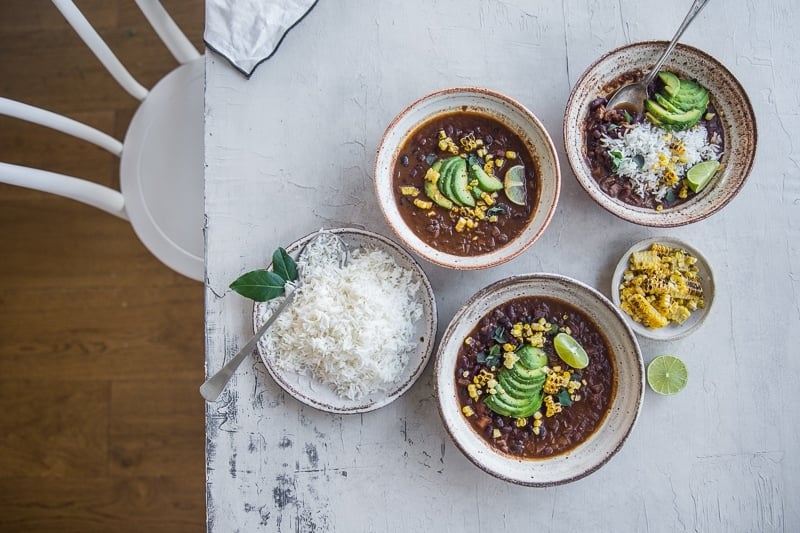
- Serve hot in bowls topped with sliced avocado and wedges of lime with rice on the side.
note - This post is sponsored by Philips. Musings and thoughts on the Philips Deluxe Multi Cooker are my own.
* Pulled pork, 45 minutes with pressure cooking vs 8 hours with slow cooking. Compared to the original Philips All-in-One Cooker. ** Only on HD2145/72










Could I use tinned beans instead of dry?
yes, you could. But don't use the pressure cook function as the beans are already cooked and pressure cooking might make the whole dish very mushy. Continue on the Saute/Sear function for the entirety of the recipe. 🙂
Thank you for your article and recipe. I just bought the machine yesterday and the instructions / recipe book aren’t very detailed, so have been looking online for more info info and suitable recipies. Hope you will have more!
My thanks for sharing wonderful vegan recipe! Your pictures look great especially the black bean and red kidney beans are popping. Beautiful photography!!