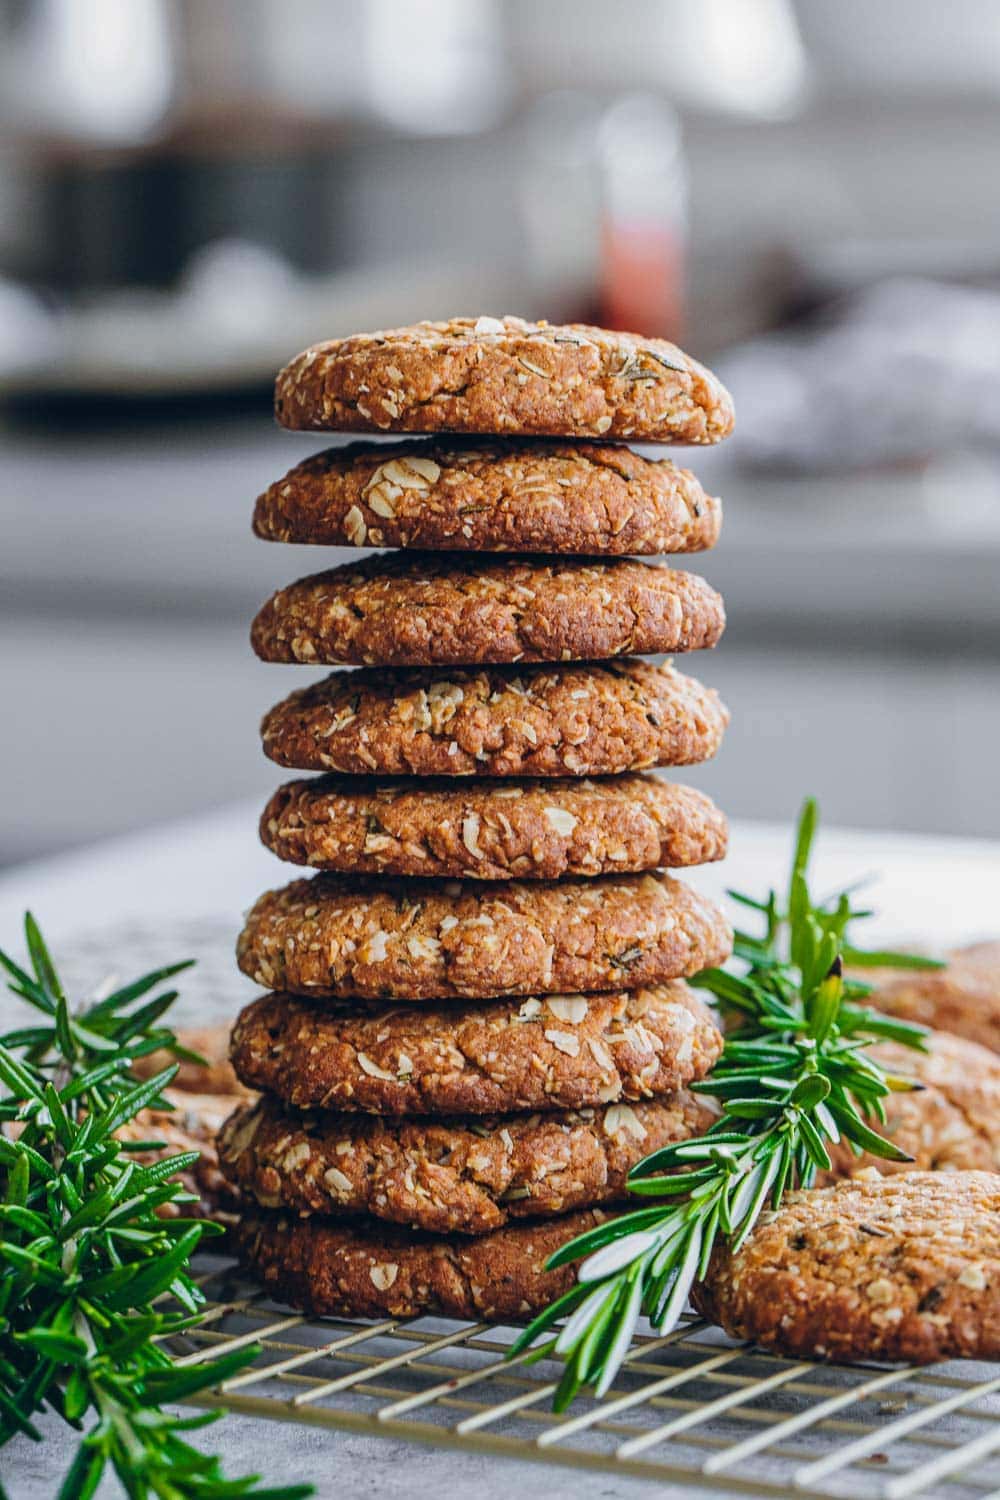
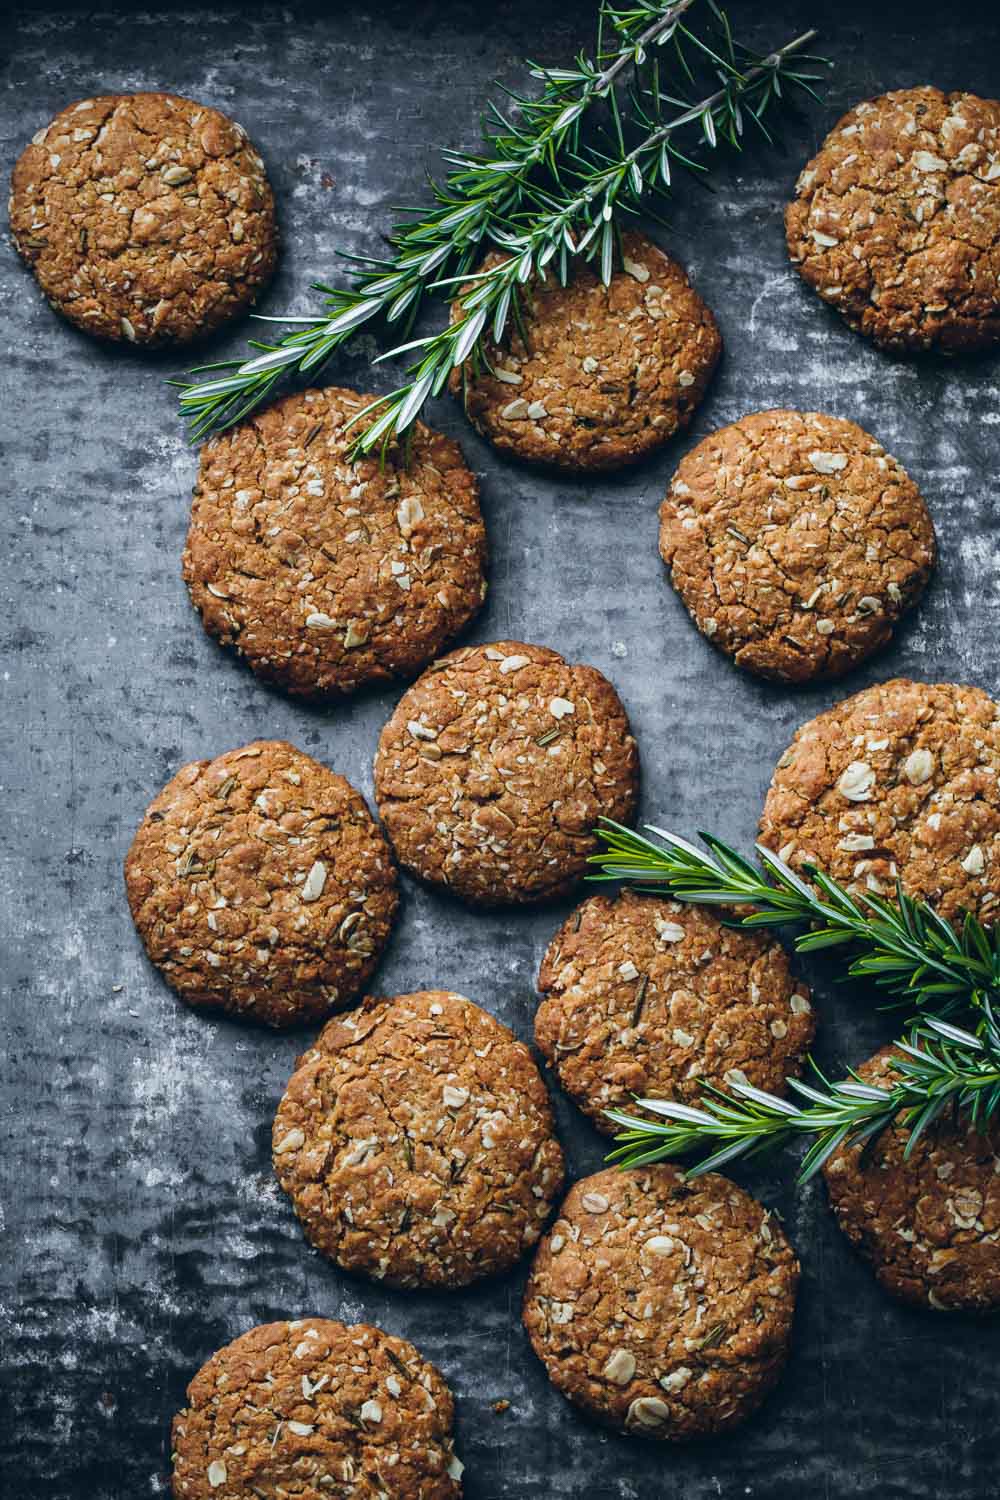
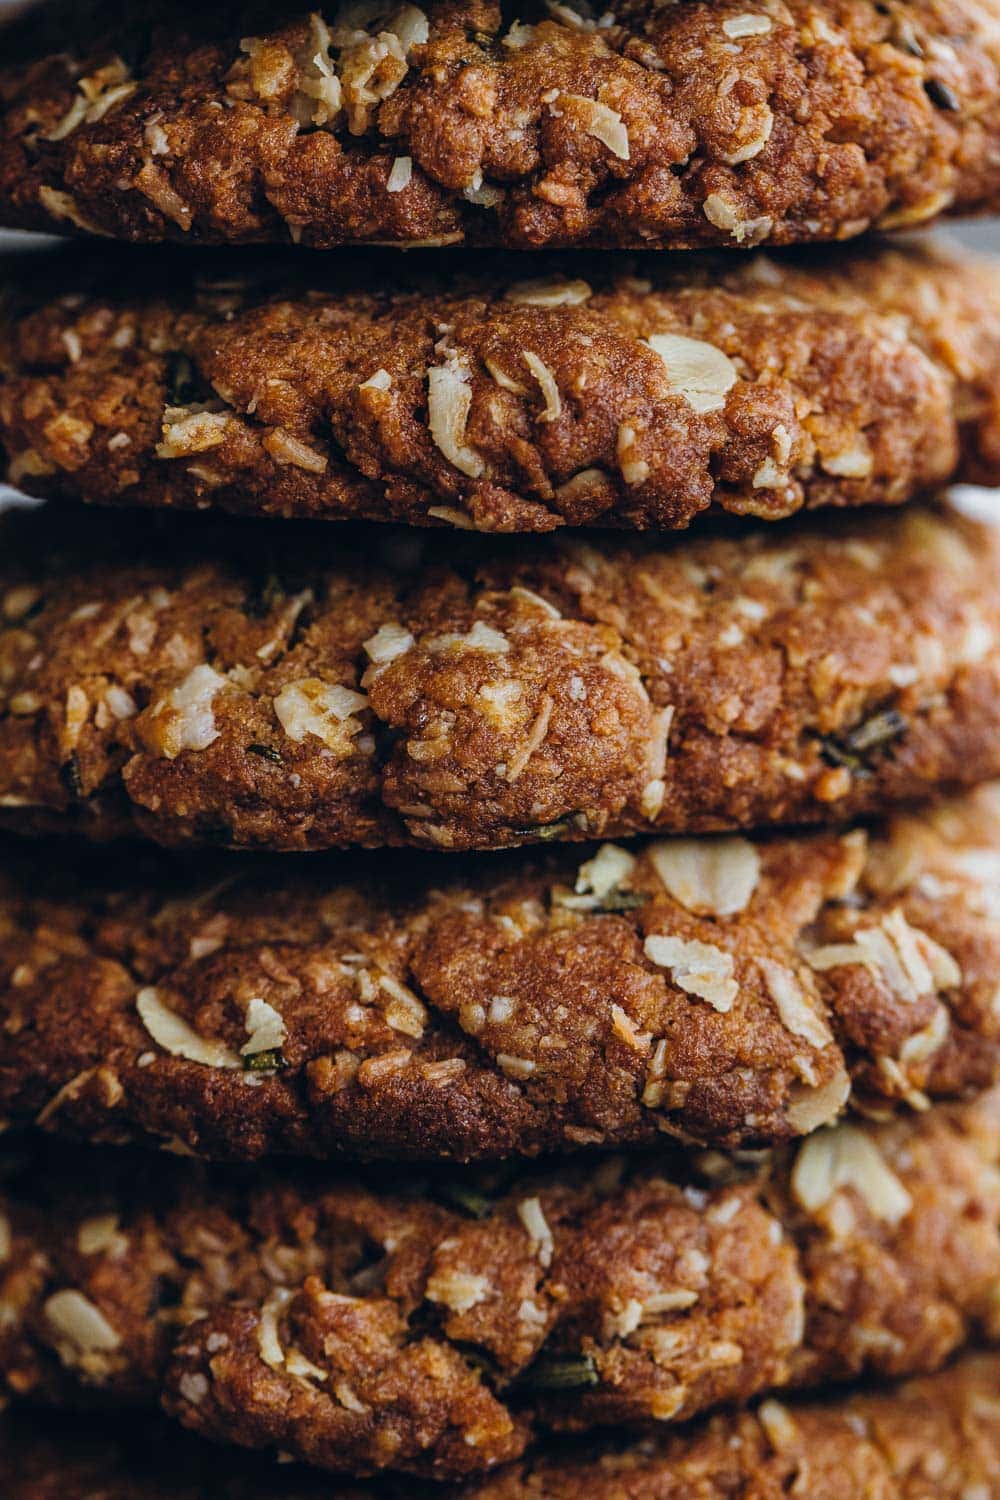
The crispiest, golden Rosemary Anzac Biscuit recipe for your baking pleasure! Tested dozens of times, foolproof and absolutely delicious with the abundance of fresh rosemary dotting these delightful biscuits. An easy recipe to bake every week because everyone (especially the kids) loves it and it makes a good snack!
Rosemary In Anzac Biscuits
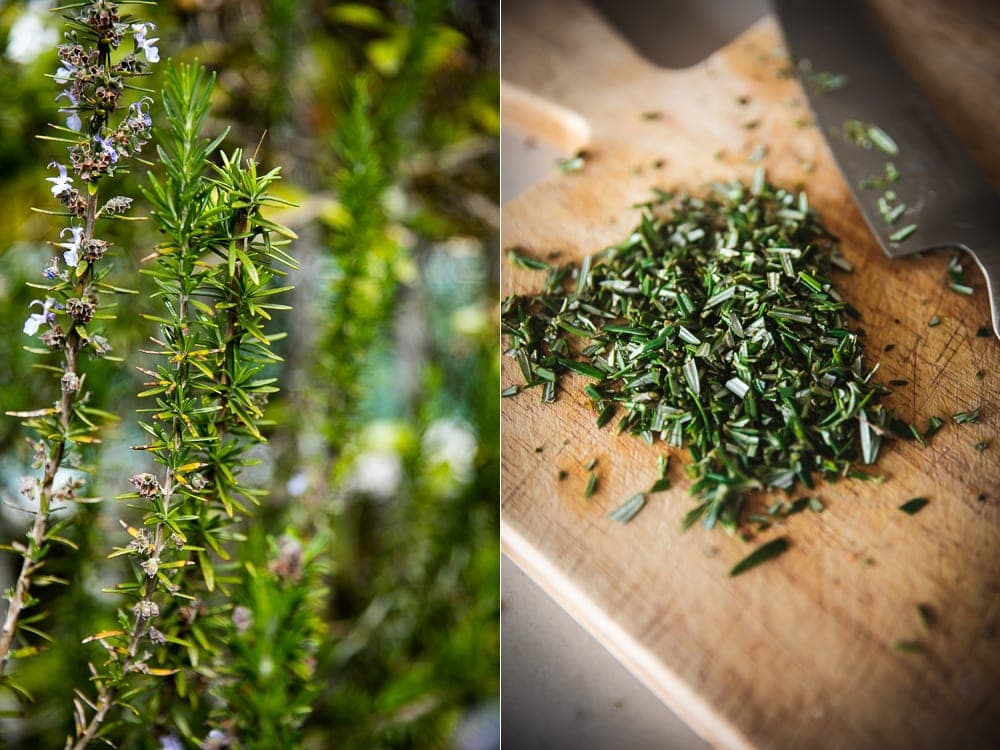
The idea of adding rosemary to baked treats is something I was introduced to after moving to Australia in 2005. In anticipation of all the lovely things I was going to bake, I planted a rosemary bush in my garden and over the years it became the mother bush, birthing dozens of cuttings and subsequent rosemary bushes.
With its deep connection to the Anzac history at Gallipoli, rosemary has made its way into cakes, cookies, tarts and even ice cream. More so on my blog over the years, first in the form of these delicious Wholemeal Rosemary And Raisin cookies packed with fruit and nut that I used to bake and take everywhere. And then in the form of these delicious healthy Date Walnut & Chia Rosemary Cookies or this gorgeous Rosemary & Spice Quince Loaf.
But somehow I never thought about adding rosemary to Anzac biscuits (or bikkies, as they are so lovingly called) - the most obvious of them all. These beautifully crispy, golden brown biscuits were baked to send in tins to the soldiers during WWI. The term originated from ANZACS (Australian & New Zealand Army Corps). The absence of eggs and inclusion of high fructose gave them a long shelf life which was very important while sending care packages to the soldiers.
I first starting adding chopped rosemary to my Anzac Biscuits after coming across a recipe on an Australian Blog called Erin Made This many moons ago. The blog no longer exists but you can still see Erin's beautiful bakes on her Instagram profile. After her blog became defunct, I was forced to modify my own Anzac Biscuit recipe to create the crispiest, most golden biscuit studded with bright, freshly chopped rosemary leaves. An abundance of them!
Baking The Perfect Crispy Anzac Biscuit
If you love Anzac Biscuits, this Rosemary Anzac Biscuit is set to become your new favourite baked treat. It is so incredibly straightforward, that I can now bake it with my eyes closed. After dozens and dozens of test batches, I have managed to get the recipe absolutely right - one that makes a perfect biscuit that everyone loves!
Tips On Baking Anzac Biscuits
- Golden Syrup - It is the key ingredient in all Anzac Biscuits. A thick, amber-coloured treacle of sorts; this sugar syrup can be easily found in Australia, New Zealand and the UK. It is hard to substitute it because of its unique nature, but elsewhere in the world corn syrup, molasses and honey come close. Please see my notes on substitution ideas and a quick recipe on how to make Golden Syrup at home.
- Sugar - I like to use rapadura sugar in almost all of my baking. It is brown and rustic unrefined palm sugar. It can be substituted with coconut sugar or regular brown sugar. A lot of recipes call for caster sugar or part caster and part brown sugar. I find that using rapadura sugar not only gives it the best colour but also a gentle caramel flavour that is out of this world. It also helps the biscuits get nice and crispy. I also use less of it than most recipes.
- Texture - The biscuit dough has to be just right. If while mixing, you feel that the dough is too dry and crumbly and you are not able to shape it into rounds, add more liquid (this can be either in the form of a tablespoon of melted butter or just a tablespoon of boiling water). If the dough is too wet, add a bit of flour. Regardless, it is important to remember that if your dough is not wet enough aka too dry and crumbly, your final Anzac biscuit will be chewy and soft rather than hard and crispy. If you follow my recipe below to the letter, you will be guaranteed the most perfect crispy biscuits.
- Oven Temperature & Baking Time - I bake these at 180°C in a conventional oven (for fan-forced, you will have to reduce temperature by roughly 20°C). I bake these for exactly 16 minutes, it is the sweet spot. Depending on your oven, you could bake anywhere between 15-18 minutes. Oftentimes, when I feel they are golden enough, I will turn off the oven and let them sit in the hot oven for a further 2 minutes to crisp them up. Once removed and as they cool, they will continue to harden. Biscuits that start going soft after a few days can be easily crisped up in a hot oven for 2-3 minutes.
Recipe
Hungry For More Recipes? Subscribe to my newsletter. Check out Facebook, Instagram and Pinterest to see everything I share! And if you love cooking and new cookbooks, join my free Cooking Club on Facebook!

Ingredients
- 1 cup (150 g) plain flour
- 1 cup (80 g) rolled oats
- 1 cup (100 g) desiccated coconut
- 2/3 cup (90 g) rapadura sugar
- Pinch of salt
- 2 tablespoons chopped rosemary leaves
- 125 g butter
- 3 tablespoons golden syrup
- ½ teaspoon bicarbonate of soda
- 2 tablespoons boiling water
Instructions
- Preheat oven to 180°C (160°C fan forced).
- Line a large baking sheet with baking paper.
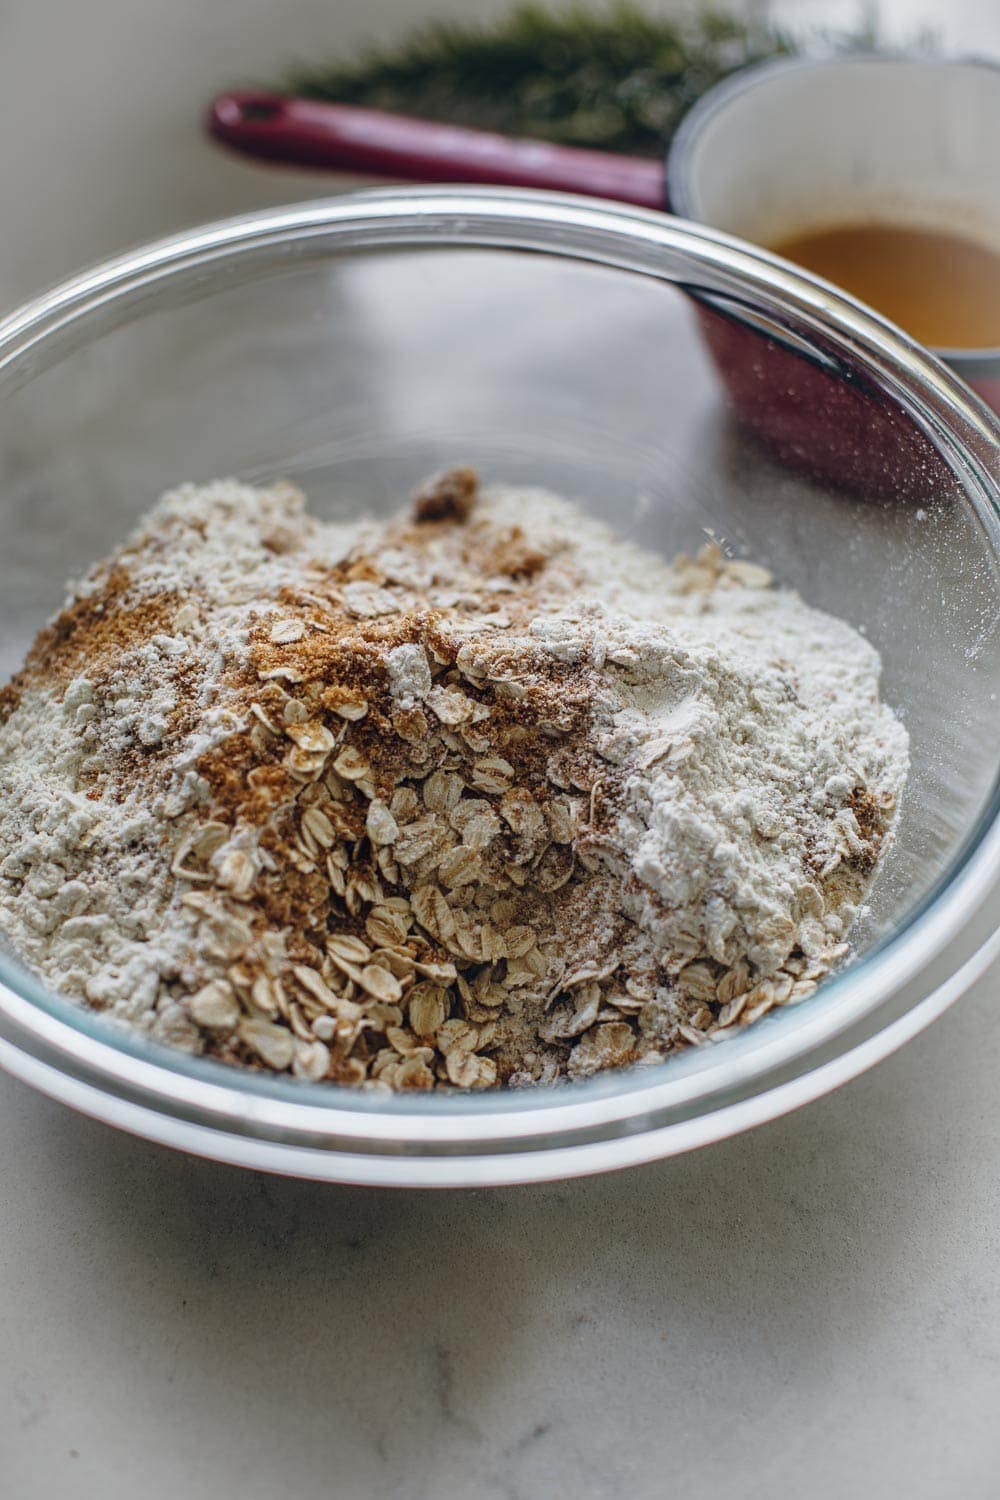
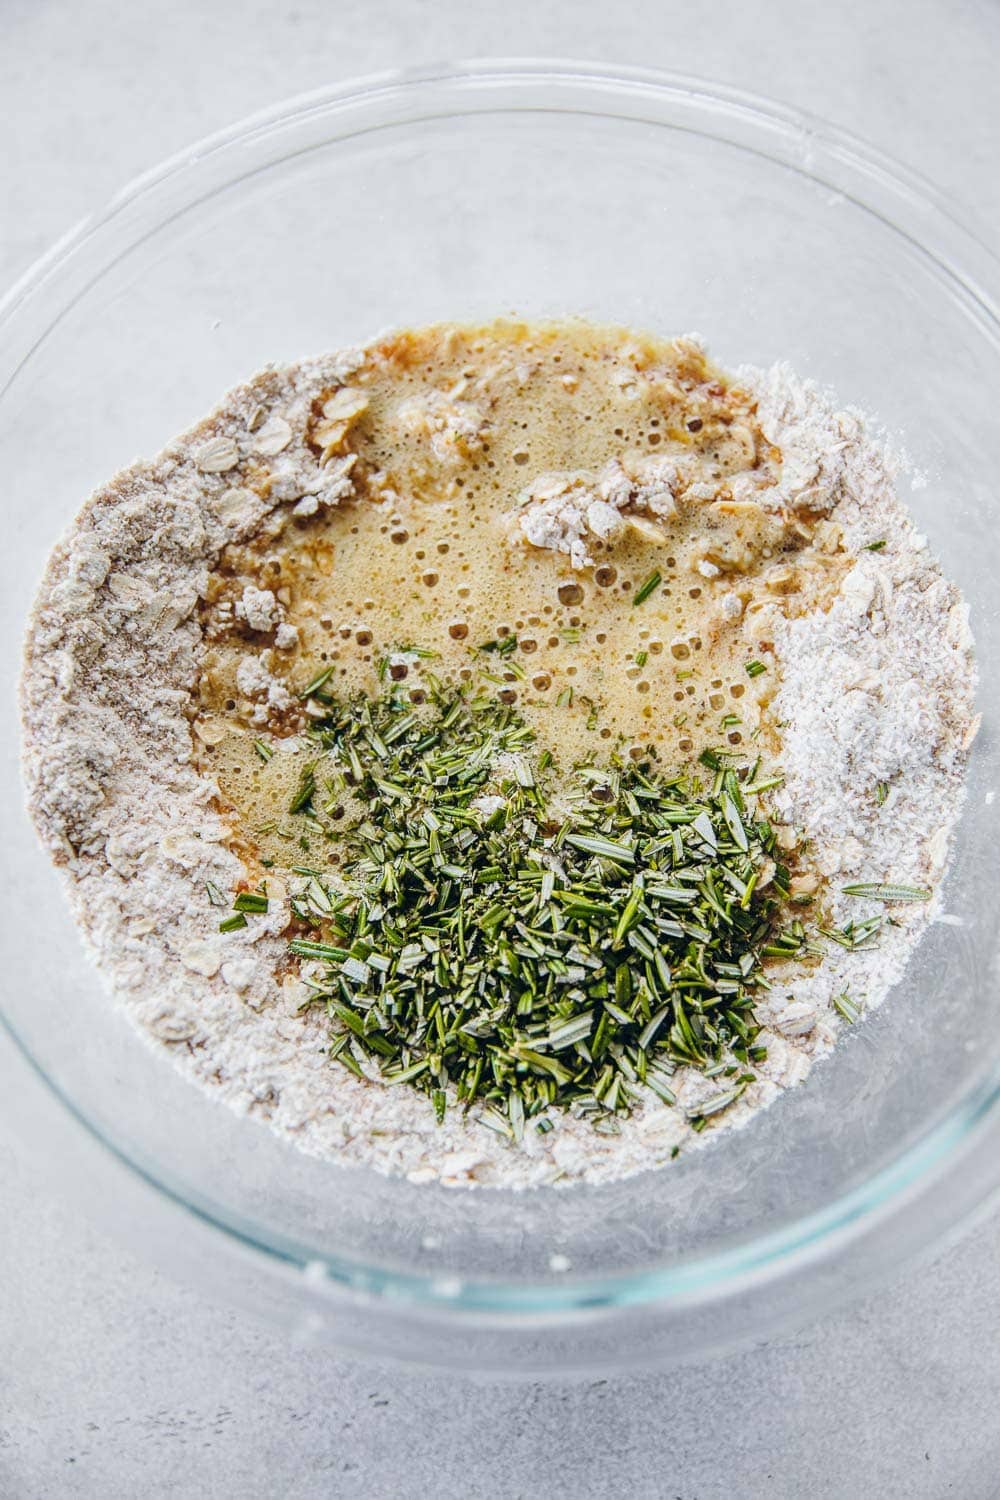
- Add plain flour, rolled oats, desiccated coconut, rapadura sugar, salt and rosemary leaves to a large bowl. Mix well.
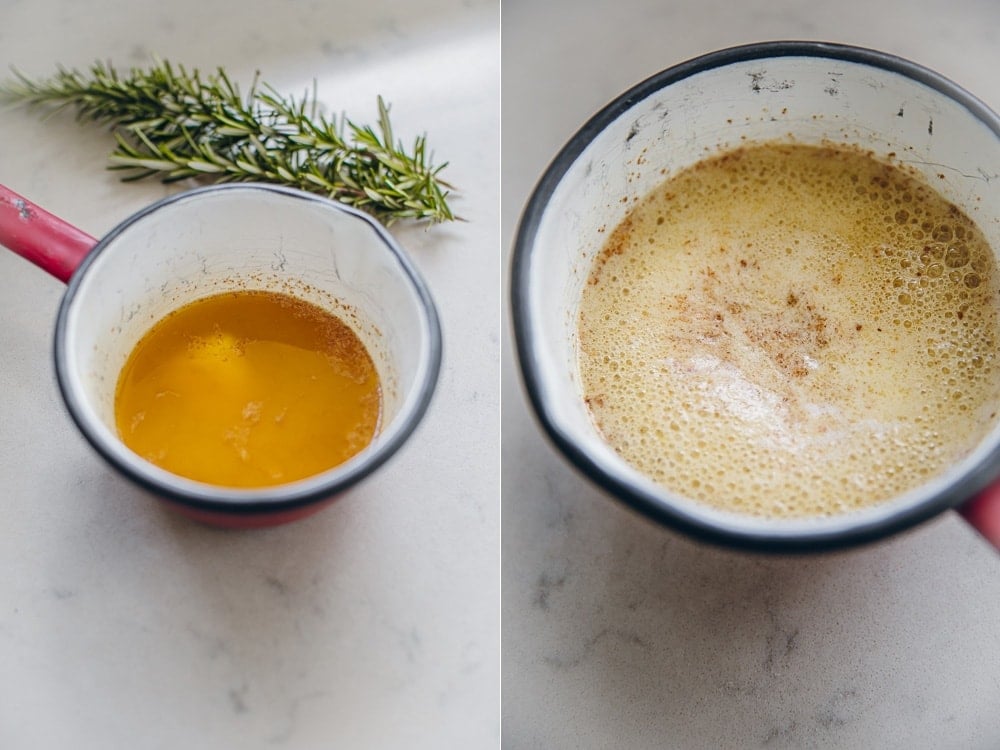
- Heat butter and golden syrup in a small heavy bottomed saucepan on medium-low heat until the butter is melted. Reduce heat to low.
- Mic bicarbonate of soda in the boiling water in a small bowl. Add the soda-water mixture to the butter mixture. The mixture will start foaming and increasing in volume. Remove from heat immediately and mix well.
- Add this bubbly butter mixture to the dry ingredients in the bowl. Mix and knead the biscuit dough with your hand.
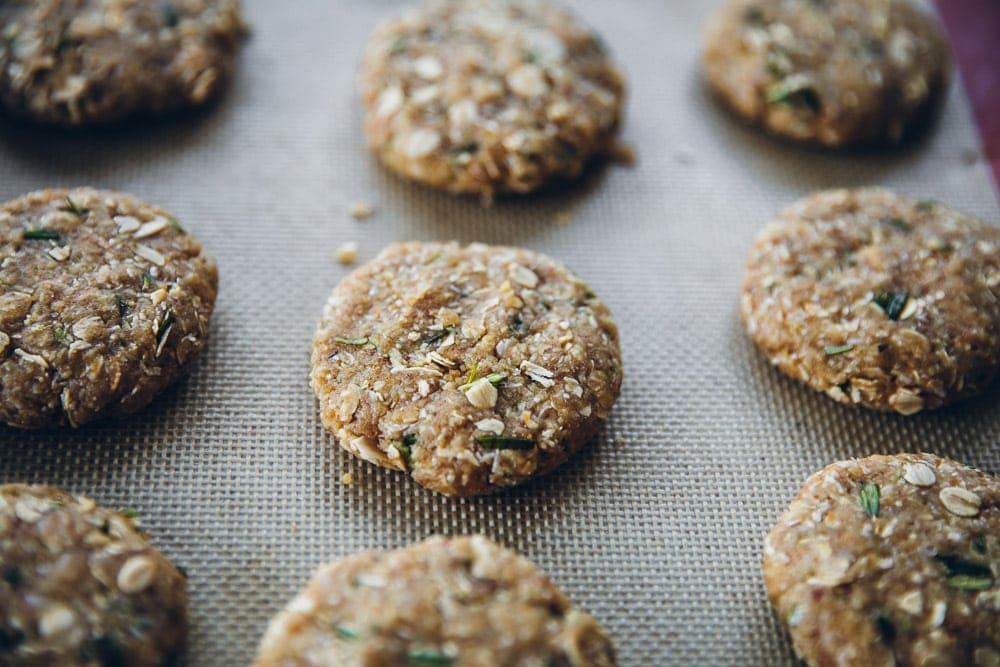
- Roll one tablespoon of dough in the palm of your hands. Flatten to a 1cm high disc shape. Pace on the prepared baking sheet. Repeat with remaining dough, placing the flattened biscuits 3cm apart on the tray.
- Bake in the preheated oven for 15-18 minutes depending on how golden and crispy you want them. The longer you bake, the crispier and browner they get.
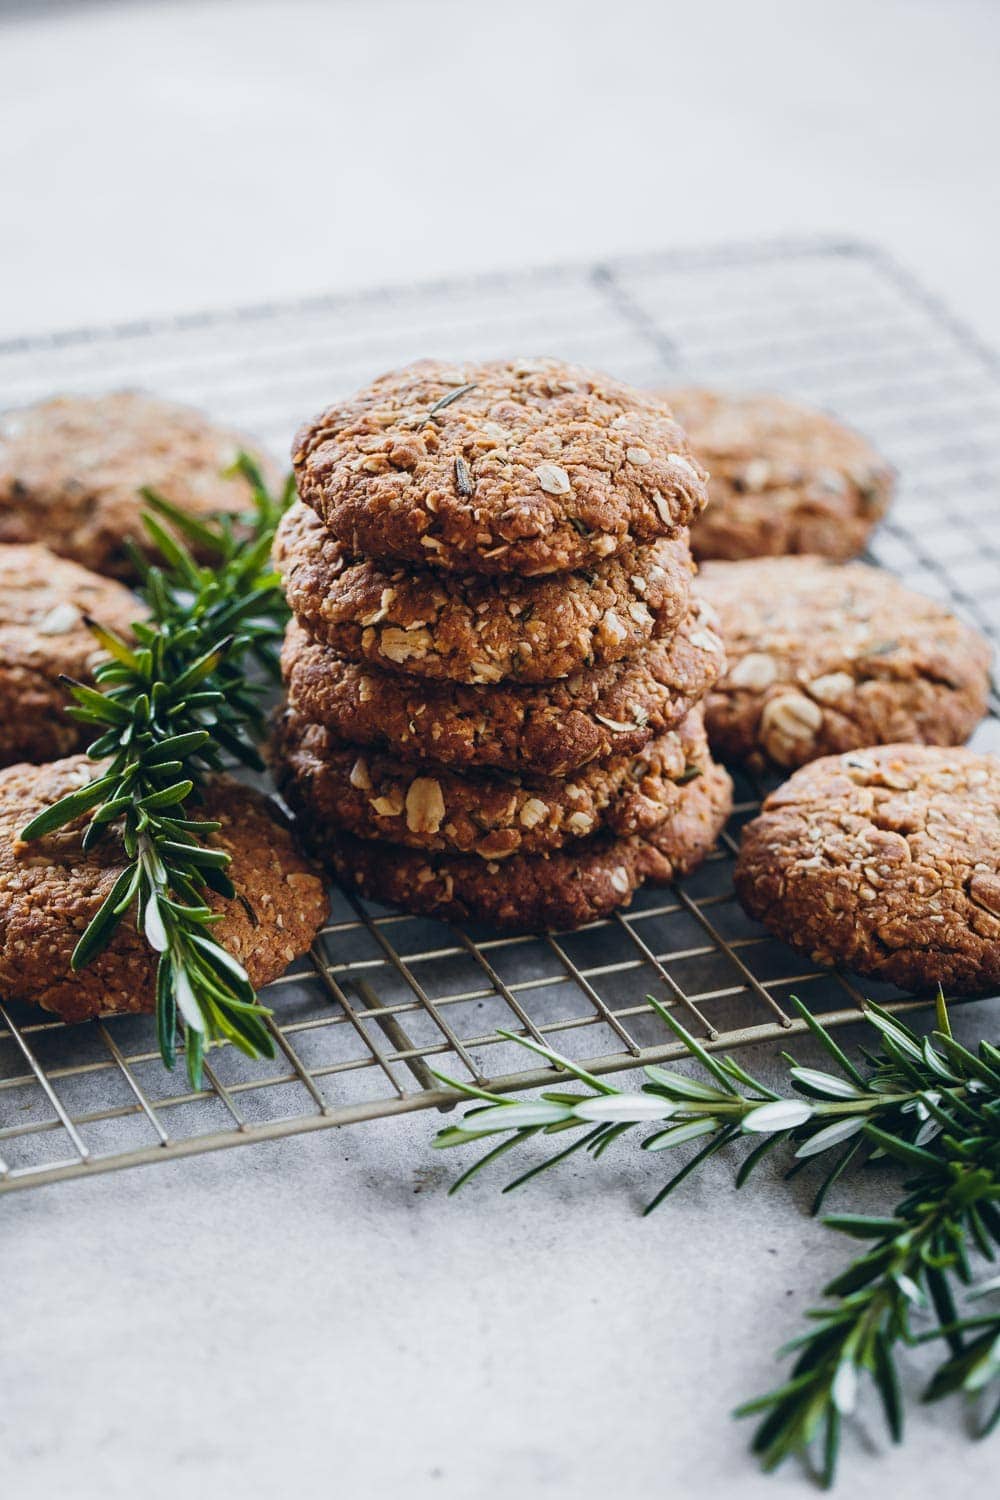
- Remove from the oven and cool on wire rack. They will harden up as they cool. Store in an air-tight lidded glass container in a cool corner of your kitchen. They last for up to a week.













0 Comments